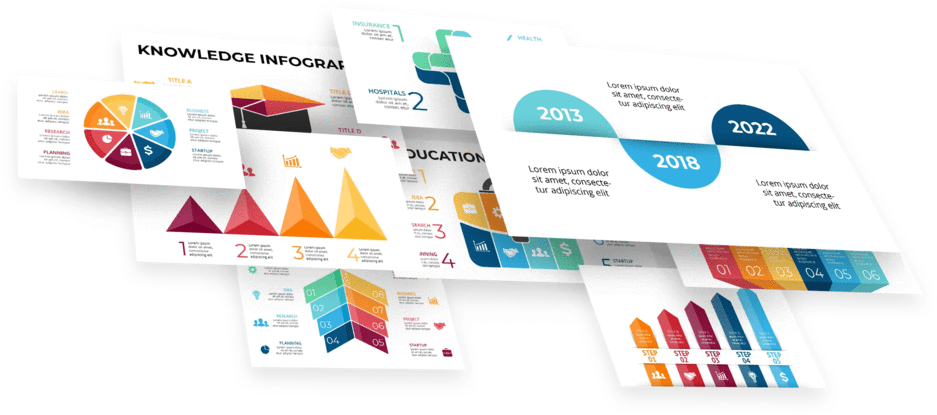
How to Use Slide Master in PowerPoint
Apr 06, 2021This is one of the essential features in PowerPoint that can save you hundreds of hours.
If you’re working on a long presentation, you’ll likely want to add or change things as you go. Perhaps the style or theme of the PowerPoint doesn’t appeal to you as much as the new theme you saw yesterday. Whereas going back and changing everything would take an incredible amount of time, Slide Master allows you to change the entire look of your presentation, including fonts, colors, backgrounds, effects, and just about everything else.
This tutorial will walk you through how to use Slide Master in PowerPoint.
To access the Slide Master button, click View and select Slide Master.

To showcase how convenient using Slide Masters is, I have fashioned a sample presentation which I customized from a readymade Slide Template from Simple Slides called Agriculture.
For our first exercise, I want to place my company logo on the bottom right corner of each slide. You can manually add them on each slide, but doing so is not only time-consuming but making sure the logo is in the same position on every slide is tedious. To do this easily, go to the view tab and click on Slide Master.
This is the Slide Master view.

On top of all the slides is our Main Slide Master, who controls all the basics of your presentation. Below are additional slides that control each unique slide layout.
To add our logo, click on the main slide master at the top. Then, let’s insert our picture by clicking on Insert then Pictures. Select the logo we made earlier from the window and hit Insert.
Now let’s resize and reposition our Logo at the bottom right corner of our Slide Master. By doing so, all our slides will automatically have that logo in the same area. Let’s go ahead and close our master view to see the results.
As you can see, our logo is placed on the exact location of each slide, save for slide number three. The logo is there and is only hidden by this image. Remember, elements you add in, such as shapes or images, will automatically be placed as the lowest layer of the slide.
For our next exercise, let’s change the font for all the slides. Go again to the Slide Master command to enable our Slide Master view. Then, on the primary Slide Master, edit the font to whatever you like.
 I chose this font called “Century.” You can also customize other things, such as colors and effects. Now, let’s close the slide master to see our result. As you can see, all the fonts have been changed.
What if I only want to add an object on a specific kind of slide and not the whole presentation? For example, I have a section header here, and I wish to add a heart shape on the top right corner of this slide and other section header slides.
Return to our Slide Master view and select the Section Header slide among the additional slides below our primary Slide Master. Then go to Insert, click Shapes, and select the shape you want to add to the slides.

Once we have resized and positioned our heart shape to the top right corner of the slide, close the master view to see the results. And as you can see, only the Section Header slides have been affected by this change, and now a heart shape can be seen in the same area.
We can also save the theme we have made for future use. First, navigate to the Design tab, then click the drop-down arrow in the Themes group. Next, click the option that says Save Current Theme.
Once the window opens, give your theme a name, and when you’re done, click the Save button. And that’s it. You can now select this theme anytime you want to reuse it.
Get A Free Sample of Our Award-Winning PowerPoint Templates + University
Get A Free Sample of Our Award-Winning PowerPoint Templates + University
Join our mailing list to receive the latest news and updates from our team.
Don't worry, your information will not be shared.
We hate SPAM. We will never sell your information, for any reason.