A Step-by-Step Guide: How to Create a PowerPoint Timeline
Feb 08, 2022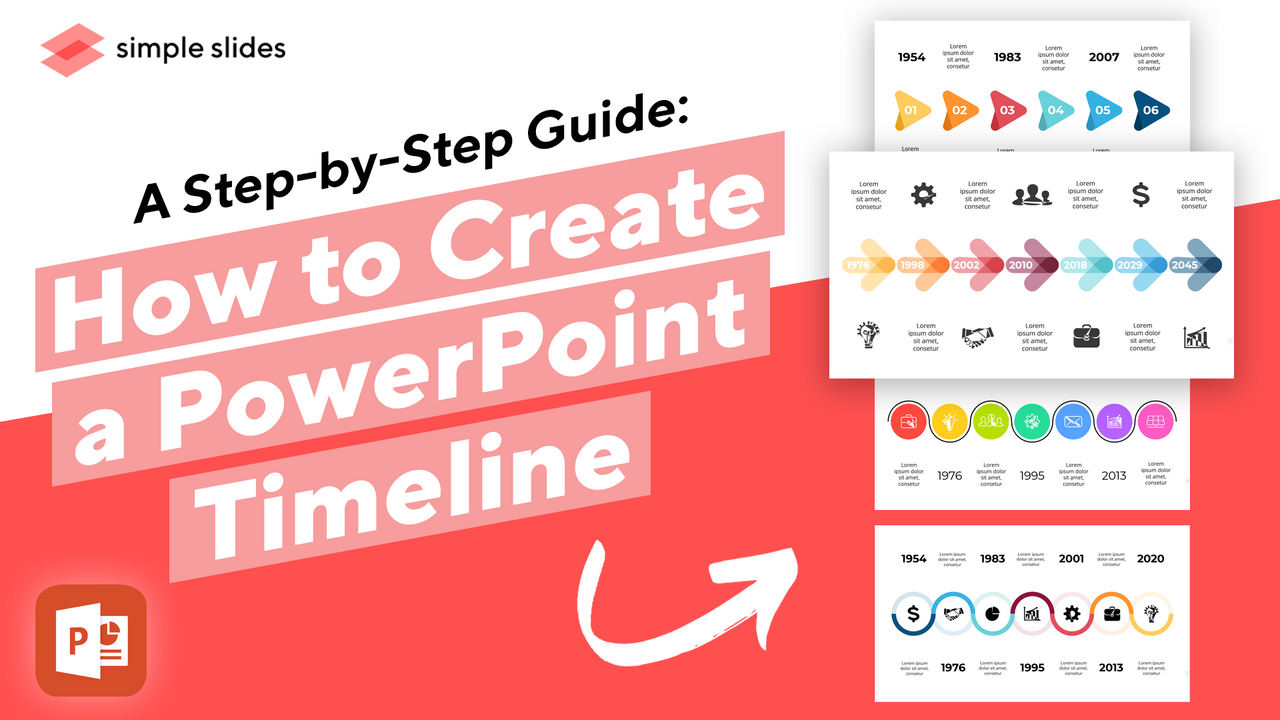
Finding the right balance in a PowerPoint presentation can be tricky. On the one hand, you want to get as much information as possible on your slides so the reader can see that you are highly informed.
However, you also don't want your readers to drown in content by offering a dull presentation focusing on too much content per slide.
This is particularly difficult when you map out a series of events chronologically. You need to provide enough information for the reader to understand the journey but not so much that it gets lost.
While the notes page of each slide can certainly help, you need a tool that helps keep your presentation visually appealing while providing a clear and concise structure.
So, how do you pack a series of events into one slide?
That's where a PowerPoint timeline graphic comes in handy.
This article will show you how to create a timeline within PowerPoint that supports your presentation and provides your readers with a beautiful visual cue to digest while you present.
Many people are unaware that creating a timeline in PowerPoint is even possible!
For those who are, stop making a timeline from scratch or using boring long lists. Check out this step-by-step guide, and create a timeline showing your knowledge and expertise perfectly.
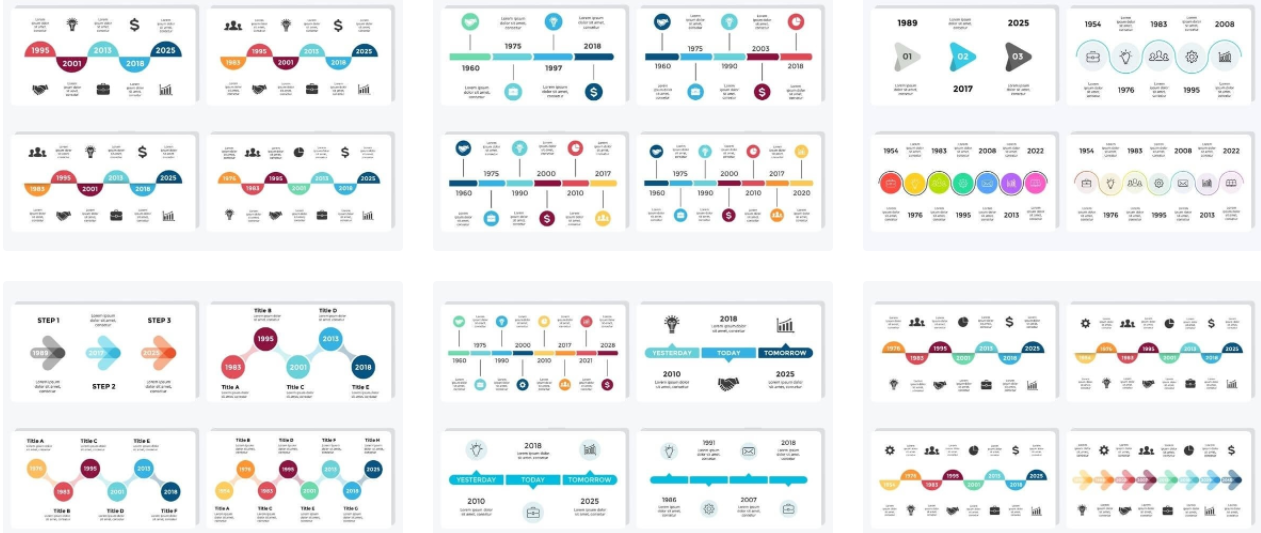
Searching for the perfect PowerPoint timeline template for your presentation? Check out the Simple Slides Timeline Bundle.

Quick Summary.
If you are short on time, here is a quick summary of creating a basic timeline.
- From the Insert tab, select SmartArt.
- Choose a timeline template layout from the SmartArt graphic gallery.
- A text pane will appear on the slide alongside your SmartArt graphic. This text pane lets you easily add commentary to your timeline in PowerPoint.
- Within the text pane, enter the milestone dates and descriptions.
PowerPoint Timeline FAQs:
What is a PowerPoint timeline?

A timeline in PowerPoint is a presentation tool that Microsoft PowerPoint offers you within its product. You can create a timeline to improve your presentation and provide a graphical representation of your work.
What are PowerPoint timelines used for?
PowerPoint timeline is best used for presenting events in chronological order. It offers a visual timeline that is easy to follow and helps make large amounts of information digestible.
They are excellent for various presentations, such as presentations within content marketing.
Fun Fact: Many people are unaware of how to create great PowerPoint timelines. Try our timeline templates for free to save time and effort.
Has Microsoft PowerPoint always had a timeline feature?
No, Microsoft PowerPoint introduced the timeline template feature in the 7.0 release in 1995.
Is there a timeline template?
You can create a basic timeline within PowerPoint. For the best professional timelines and templates, full of custom colors, illustrations, and other handy additions, check out our range of PowerPoint templates here.
How to Create a PowerPoint Timeline?
Find the "Smart Art" graphic.

Firstly, head to the Insert tab, and click SmartArt.
Within SmartArt, you will find the SmartArt graphic gallery and SmartArt styles. These aspects can help improve your PowerPoint presentation and make a stunning timeline in PowerPoint.
SmartArt graphic gallery.
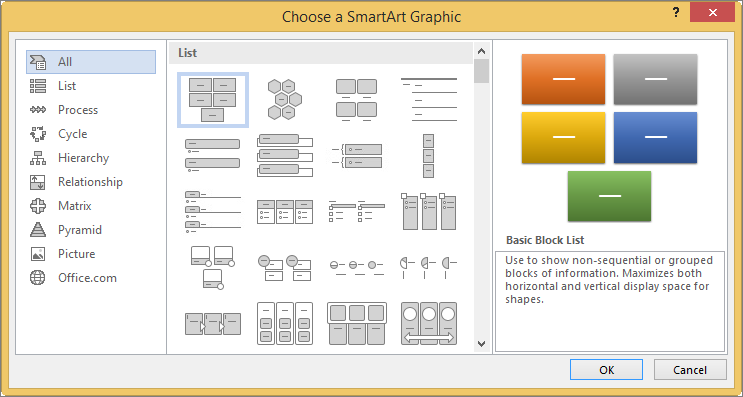
Within the SmartArt Graphic gallery, you will discover a range of choices. SmartArt graphics are split into several different topics, including:
- Timeline
- List
- Process
- Cycle
- Hierarchy
- Relationship
- Matric
- Pyramid
- Picture
For this subject, you need to select the "timeline" option. I prefer the circle accent timeline or a pre-prepared PowerPoint that uses a SmartArt graphic.
If you are short on time and would instead focus on other essential aspects of your presentation, you can download the perfect timeline template presentation here.

Select a basic timeline template.
Choose a project timeline template from the SmartArt tools design tab to bring your PowerPoint slide to life.
If no suitable templates in the SmartArt tools design tab suit your PowerPoint slide, check out this vast array of choices.
Add words to the SmartArt graphic.
Once you have selected your template in PowerPoint and selected ok, this timeline layout will appear on your slide.
It will also create a text pane on the left-hand side of your new timeline. Within this text pane, you can include any information you would like to see within your timeline in PowerPoint.
Within the text editor, input your timeline entries, and they will populate within your timeline layout. Don't worry if you missed any timeline information at this stage. You can double-click on your timeline to add more details later on.
(Optional) create a sub-item.
Depending on what information your timeline in PowerPoint will include, you may want to have a sub-item in the bullet list. To do this, double-click the bullet point containing the text you want to use for a sub-item.
From there, double-click Demote on the SmartArt tab.
Change the Style or Color of a Timeline.
Selecting your favorite SmartArt timeline from the SmartArt tools is not the only piece of personalization you can do. You can also use different SmartArt styles or SmartArt graphics when you create a timeline.
Select your timeline in PowerPoint.
Select "Create a timeline."
- Choose the SmartArt design tab of the Ribbon, then choose the SmartArt Styles or Change Colors option to view various options for your timeline graphic.
- Please choose the color scheme or style you like the most and add it to your PowerPoint.
- You can also change the layout option by selecting the layout gallery to the left of Change Colors.
How to Resize Your Timeline in PowerPoint.
You can also tweak the size of a PowerPoint timeline to fit seamlessly onto any slide. Here's how:
- Click on the PowerPoint timeline.
- Drag your pointer to one of four corner sizing handles. At this point, a two-headed arrow will appear. Click on the corner when this appears, and drag the image to the size you want it to
The Main Benefits of Utilizing a Timeline in PowerPoint.
Help organize facts
A PowerPoint timeline allows you to get your facts in order. You can provide your readers with a clear timeline of events, lining out the points clearly and effectively.
Condense information
Making timelines lets you condense important information into clear sections. This benefit is brilliant when you create a detailed timeline of events or a project plan.
Visually appealing
When you select the correct timeline or a suitable Simple Slides Template, a timeline can add a tremendous visual impact to any presentation. While also useful for adding information, a timeline looks much more aesthetically pleasing than a list of information on a slide.
How to Create a PowerPoint Timeline: Conclusion and Takeaways.
Now that you have read all the steps necessary to create a timeline within PowerPoint, you can take any of your upcoming presentations to the next level. Adding a timeline to any beautifully crafted presentation will take your content to all new heights. Here is a quick recap of each step:
- From the Insert tab, select SmartArt.
- Choose a timeline template layout from the SmartArt gallery.
- A text pane will appear on the slide alongside your SmartArt graphic. This text pane lets you easily add commentary to your timeline in PowerPoint.
- Within the text pane, enter the milestone dates and descriptions.
Get A Free Sample of Our Award-Winning PowerPoint Templates + University
Get A Free Sample of Our Award-Winning PowerPoint Templates + University
Join our mailing list to receive the latest news and updates from our team.
Don't worry, your information will not be shared.
We hate SPAM. We will never sell your information, for any reason.