
How to Delete Text Box in PowerPoint: Everything You Need to Know
Jan 20, 2023
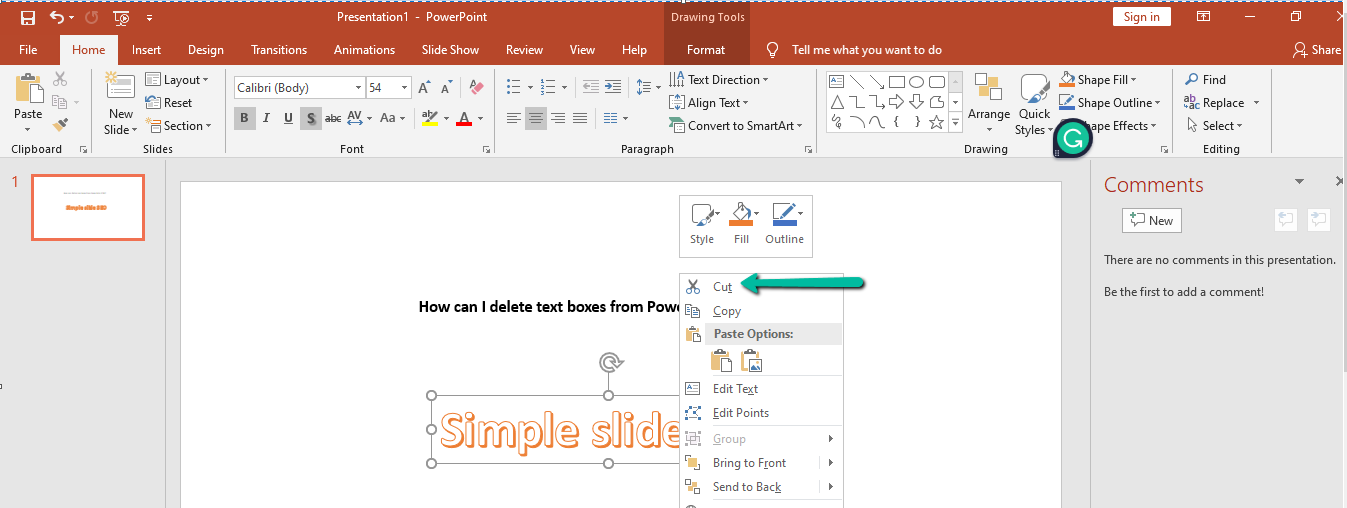
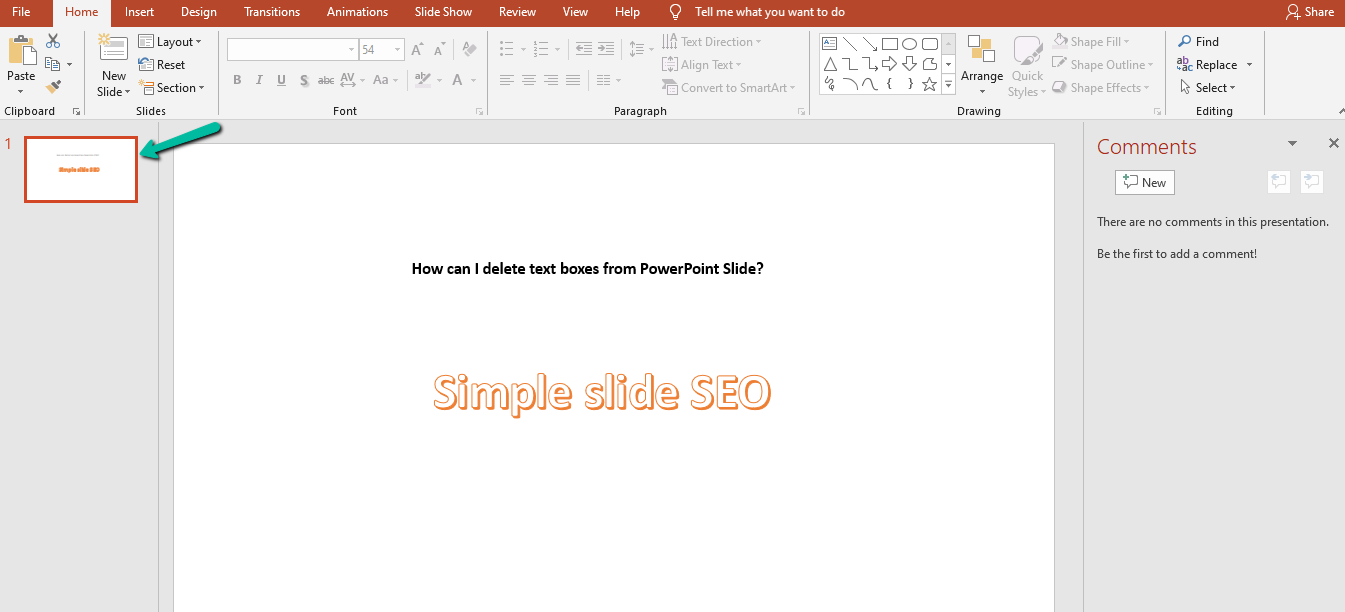
How can I delete text boxes from a PowerPoint Slide?
Deleting a text box from a PowerPoint presentation is as easy as pressing delete, but there's more to it than that. To delete the correct text box, select it by hovering the mouse over its border until crosshairs appear, indicating you've successfully selected it.
If multiple text boxes overlap and don't reflect one shape, hover around the perimeter of your desired box until it is highlighted and appears with a thin blue border.

A Step-by-Step Guide to Deleting Text Boxes in Microsoft PowerPoint.
1. Select the text box that you want to delete from your PowerPoint slide

Once the intended text box has been selected, hit delete while in the slide view. Before advancing through your presentation, double-check that you only delete what is intended - as deleted boxes cannot be recovered.
2. Right-click on the selected text box and select "Delete/Cut" from the dropdown menu
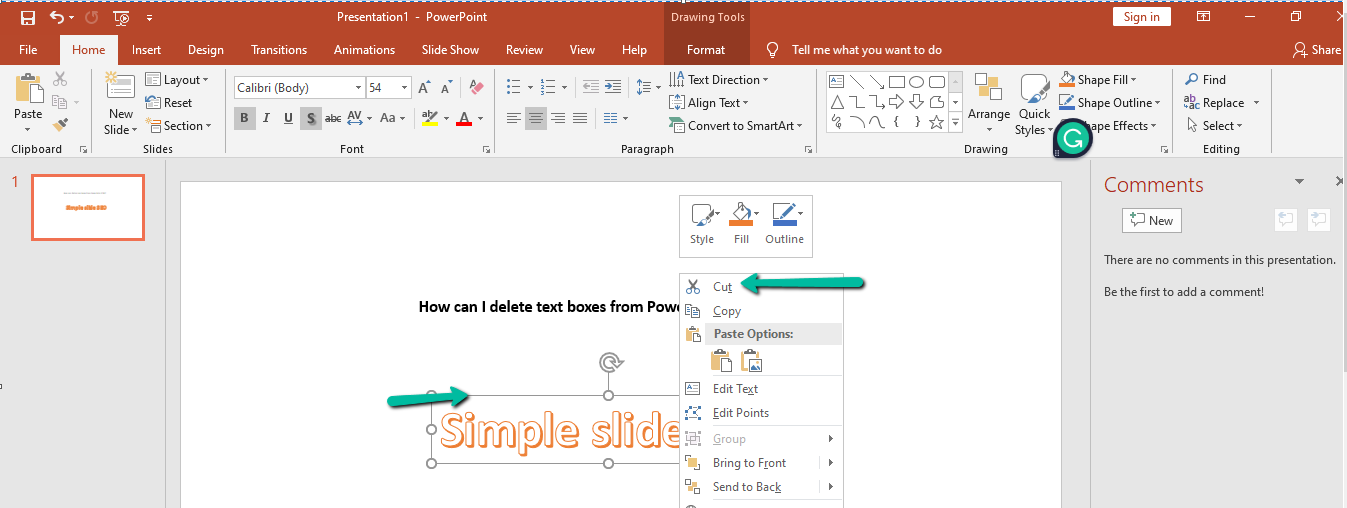
Working with PowerPoint can be an easy task with the help of a few short steps. To delete a text box from PowerPoint, select the PowerPoint text box and then right-click on it to open up the dropdown menu.
Choose "Delete," and that particular PowerPoint text box and its border will be removed from the page. It's as simple as that! Plus, you don't have to worry about the consequences of your choice since PowerPoint allows you to undo any mistakes.
Streamline your workflow and save time when you quickly eliminate all unnecessary PowerPoint text boxes with just a few clicks, allowing only the essential ones to remain.

3. Confirm deleting the text box by clicking "Yes" or "Cut" to finish deleting it from your PowerPoint slide
After you delete a text box from your PowerPoint slide, a few tricky scenarios require the delete key to truly erase it. First, if you've already changed the default slide layout of your presentation, selecting and hitting delete won't do the trick.
You'll need to ensure the delete button confirms deleting the text box by clicking "Yes;" otherwise, it won't delete. Double-clicking on the text box's border here will help before hopping over to delete. Guarantee your ultimate peace of mind by erasing that irritating text box for good!
4. Alternatively, click the slide's text box and press backspace to delete it.
Suppose you’re editing existing text on a PowerPoint slide master, like the ones you find in most PowerPoint templates, instead of using the backspace key to delete it all at once. In that case,
it can be just as effective – and even more efficient in certain cases – to click and drag the PowerPoint slide’s text box. This will quickly delete any text contained within.
Another helpful PowerPoint tip is that from there, you can use the shape format tab to change the text box style if you wish. It’s never been easier to create clean, powerful PowerPoint slides!
FAQS:
How do you delete a text box that won't delete?
When you press delete on a document, you may find that some text boxes won't go away. To remove such uncooperative text boxes, double-check that the text box border is wholly selected.
Once this is done, press deletes again, and the entire text box should be erased from your default layout. If the problem persists and a simple press of delete fails to do the trick, it's possible that you need to access the settings of the particular text box and make sure its properties have been reset to standard.
How do I delete unwanted text boxes in PowerPoint?
Deleting different types of text boxes in Microsoft PowerPoint is straightforward. First, different default slide layouts may include different types of text boxes; if the border around a text box is visible, it can be selected, dragged, and dropped to blank slides for removal.
If no selection handles are visible, click on the slide to ensure there isn't a text box drifting off the edge of the viewable slide area.
Finally, once you’ve determined the text box is unwanted, use CTRL+X or cut from the Home tab to delete it from your presentation. Following these steps should help remove any other unsightly cluttering when using PowerPoint.
How do I remove edited text in PowerPoint?
Removing old or unnecessary text in PowerPoint presentations can be a tricky process. Depending on the default slide layouts, you may have to delete text boxes, individual objects, or an entire slide.
That said, editing your slides is easy with the right approach and know-how. Choose a layout that stands out from the default one to jumpstart your presentation.
This will prevent you from wasting precious time on extra elements that don't serve any purpose. Then continue deleting all the text boxes on your slides.
Through this method, not only will you save time, but you will also make sure that no typo slipped by you. Following these steps makes it easy to quickly and efficiently remove any text from your PowerPoint deck.
Related Articles:
Microsoft PowerPoint Tutorial for Beginners
Get A Free Sample of Our Award-Winning PowerPoint Templates + University
Get A Free Sample of Our Award-Winning PowerPoint Templates + University
Join our mailing list to receive the latest news and updates from our team.
Don't worry, your information will not be shared.
We hate SPAM. We will never sell your information, for any reason.