
How to Curve Text in PowerPoint
Jan 20, 2023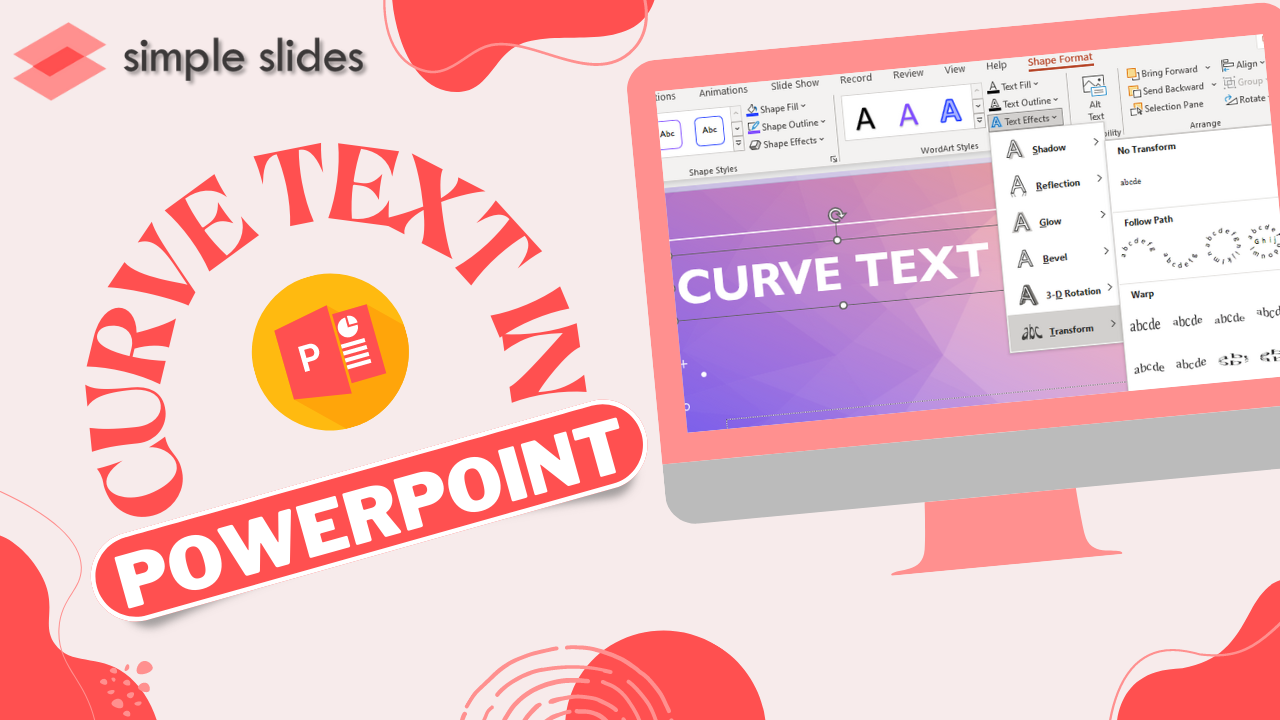
How to Curve Text in PowerPoint: Curving text can be a fun and dynamic way to write, allowing your words to follow their path around a particular area or object.
Writing curved text is not complicated; you must use the drawing tools format in your word processor and write your text.
Once you are done, you can select the text you would like to curve and the type of path for it to follow. With this simple process, you can have unique-looking texts with a dynamism that other writing often lacks!

How to Curve Text in PowerPoint.
-
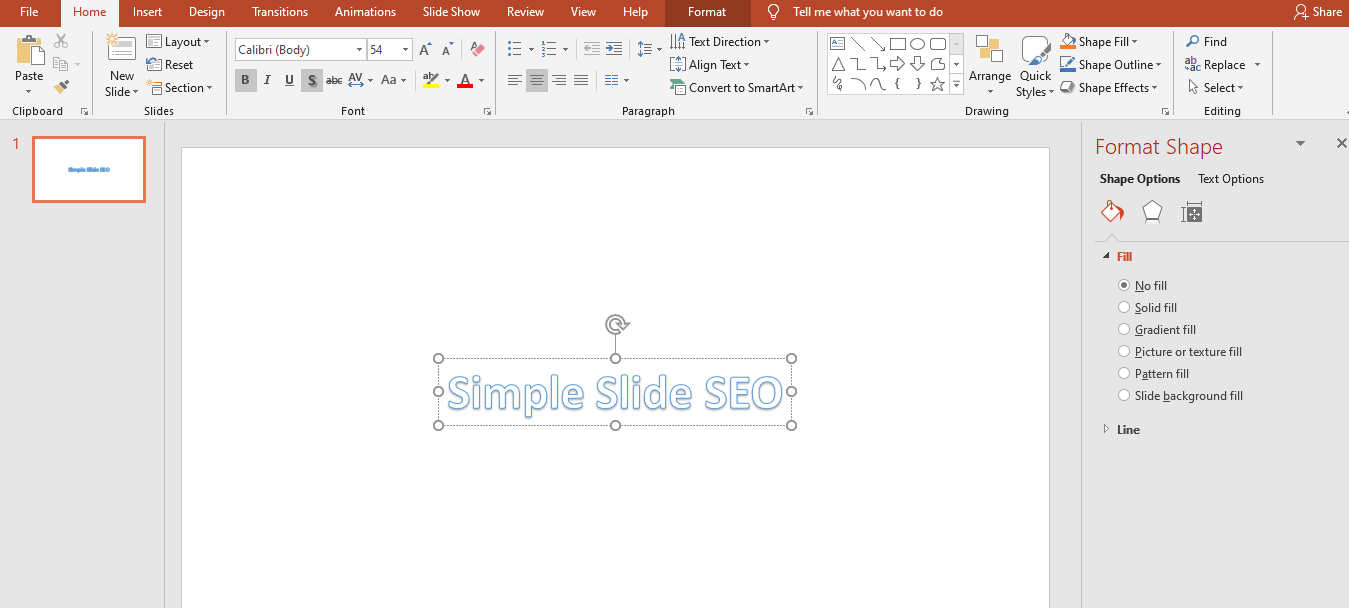
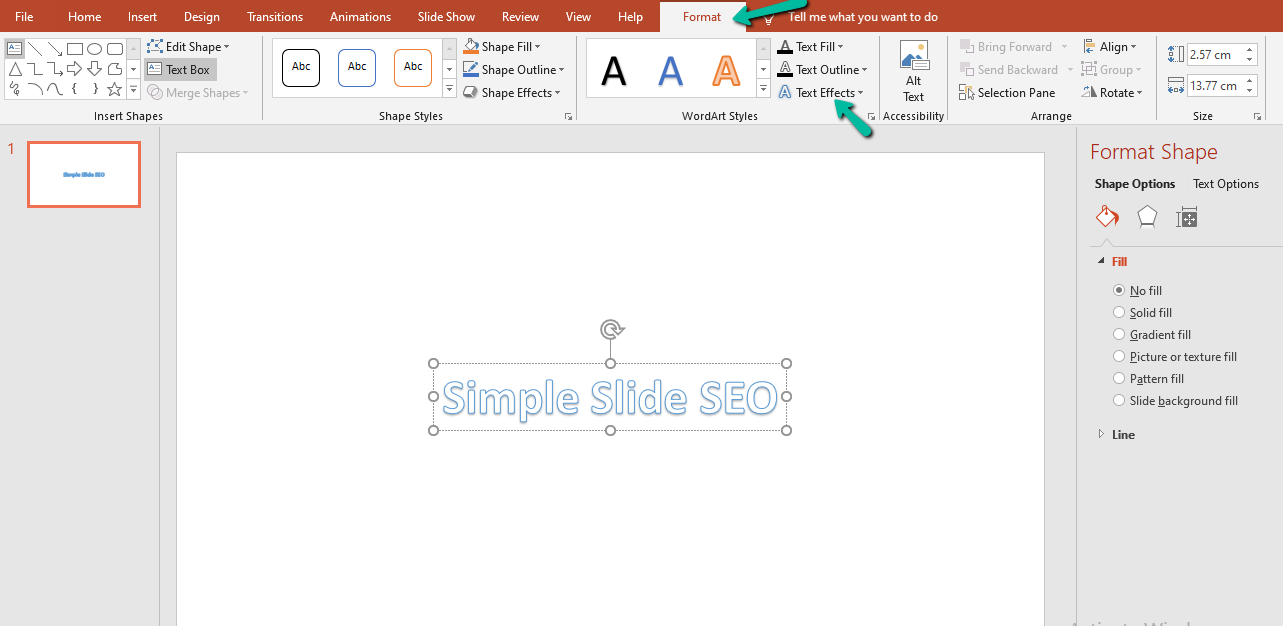
Select the text you want to curve.
-
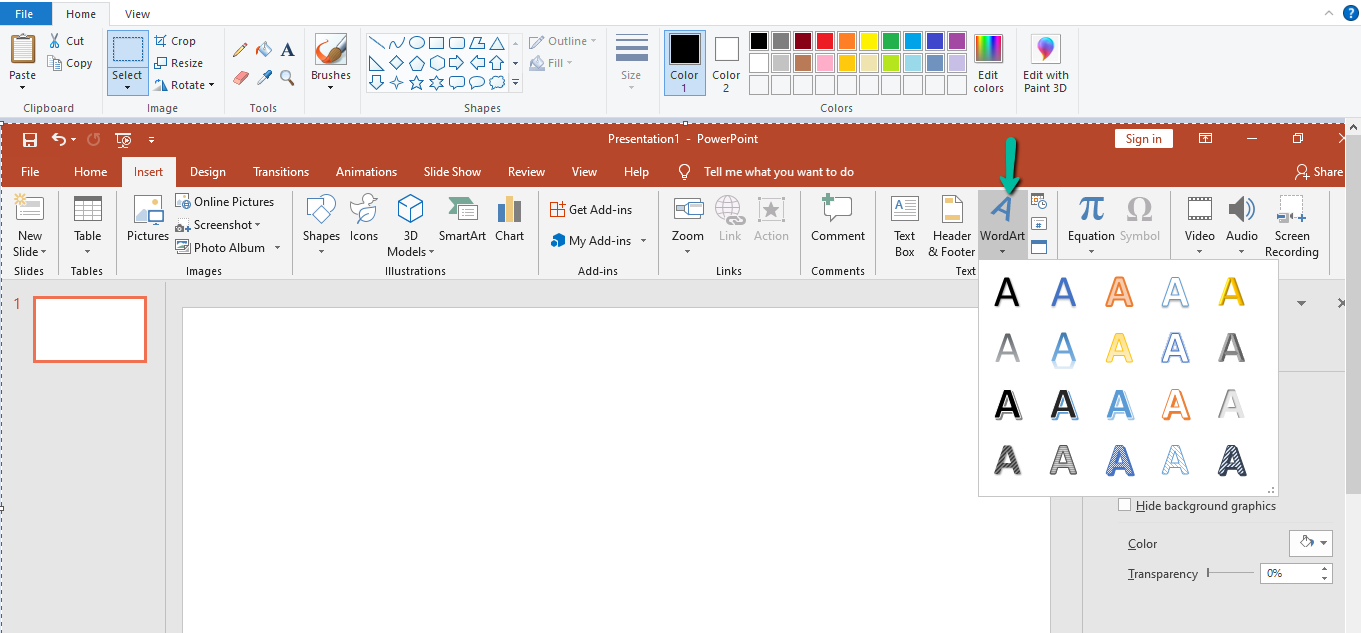
On the Format tab, click Text Effects and select Transform from the list of effects.
Looking to add some engaging visual elements to your presentation? On the Format tab, click Text Effects and then select Transform from the list of effects to instantly create curved text with a PowerPoint presentation.
Adding in this effect can help draw the viewer’s eyes to specific phrases and words that need more emphasis or that you want to stand out. Curved text is a great way to ensure your message stands out yet is still accessible and straightforward to implement!
-
Use Curve, Arch, or Wave from the options available in Transform to apply a curved effect to your text.
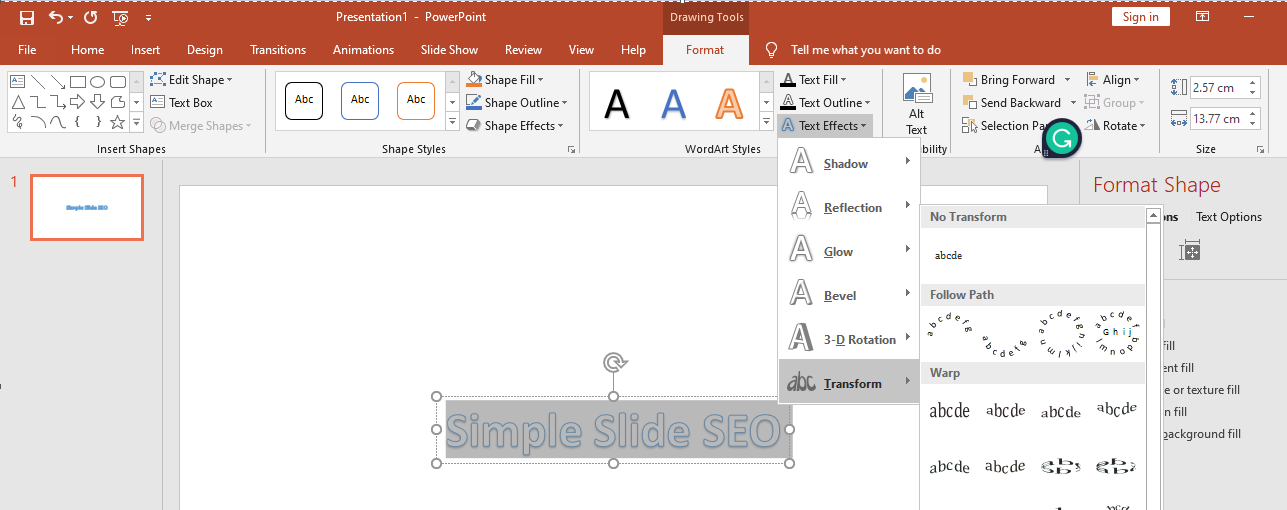
Adding even more visual interest to your design, the Transform options of Curve, Arch, and Wave can give you complete control to adjust the shape format of your circular text.
With careful application of these effect choices, you can even have illustrated letters with a more dramatic visual impact.
You'll be able to make each word pop or even put a left-to-right spin on it - it all depends on what kind of style statement you are trying to make with your design.

-
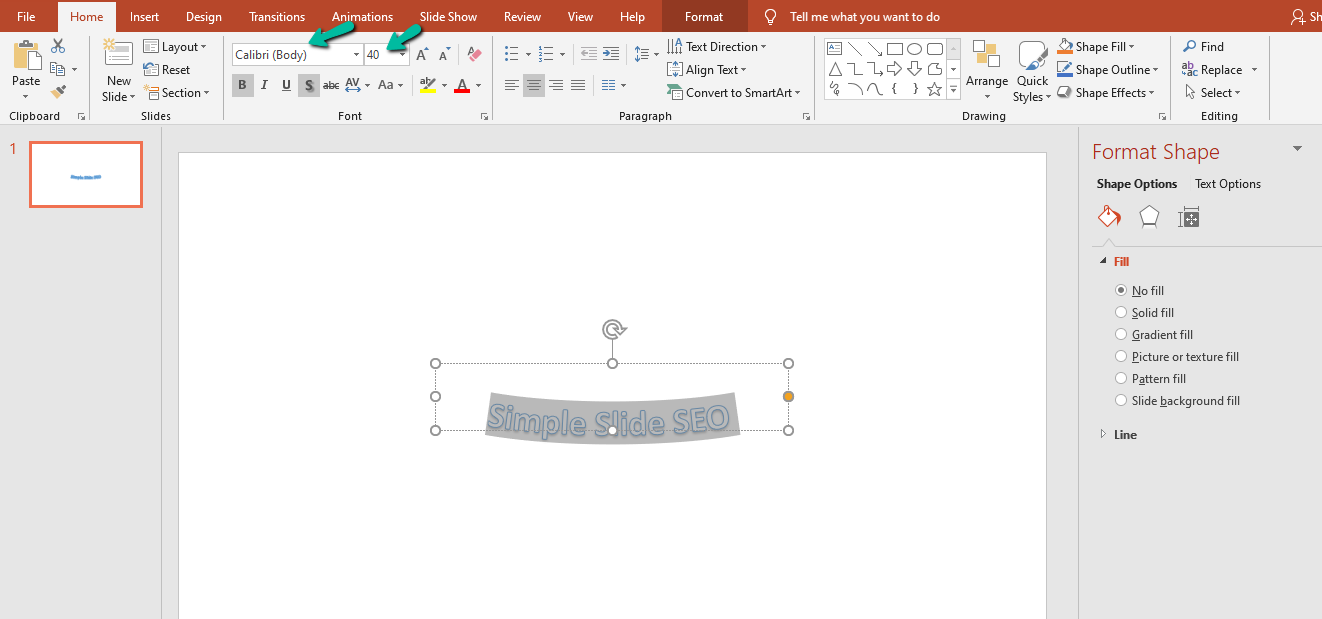
Adjust the settings such as Font Size, Height, and Curve Style to change the curved effect.
The perfect curved text effect can be created with the right mouse button and the correct settings.
Adjusting font size, height, and curve style makes a difference when looking to achieve the desired look.
When done correctly, a beautiful result will be produced, as these settings are adjusted to reflect personalized preferences. Take your time in making adjustments for an outstanding result every time!
-
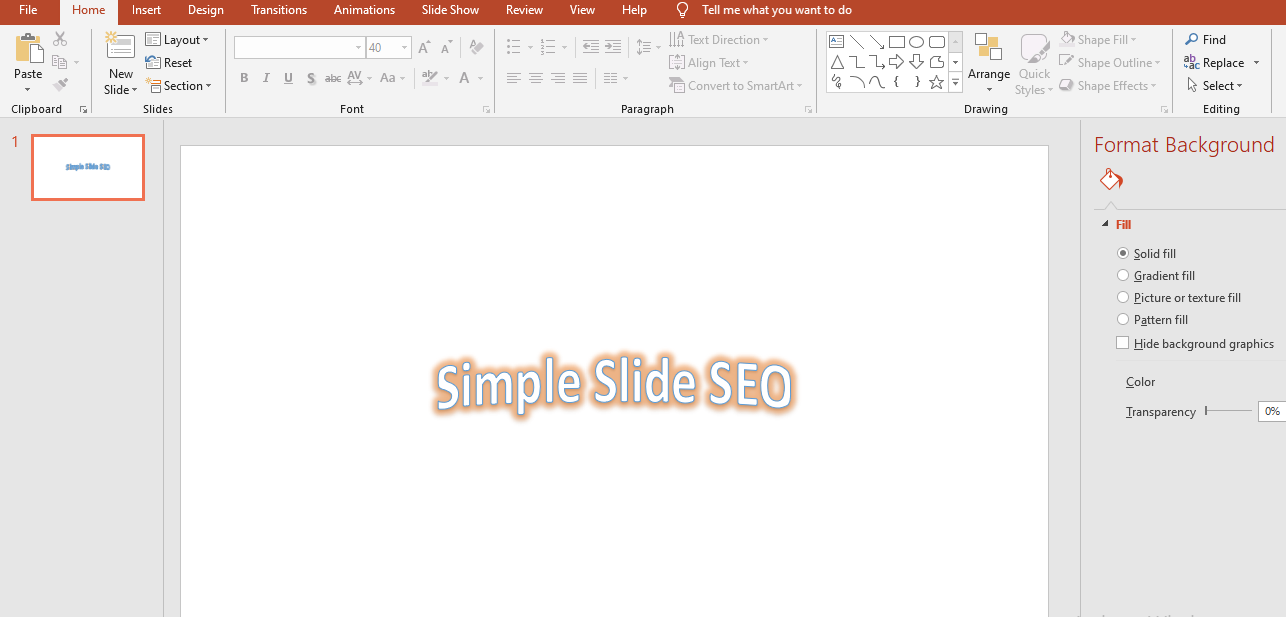
Once you are satisfied with the curve, click OK. Your text will now be curved in PowerPoint!
When taking a boring presentation up a notch, text boxes that follow a path are the perfect way to do just that.
With some practice, PowerPoint users can produce text boxes that curve and flow with the click of a button. This will add interest and movement to otherwise stale slides.
You must select your text box, draw your line or shape, right-click the text box, and click “Follow Path.” Now all you need to do is be sure you’re satisfied with the curve before hitting “OK,” and voila! Your text box is now curved in PowerPoint - ready to impress even the most demanding crowd with its elegant style.
FAQS:
How do I make a curved text box?
Creating engaging and professional PowerPoint presentations is no easy task, and curved text boxes can take your presentation to the next level. Curving your text adds a unique look to make your slides stand out.
First, start by selecting all the text you'd like to have curves, then open the Format Shape option, which can usually be found under the Home tab.
Once you open this, you'll be able to use the Text Box feature to change up the design of your text, including making it curved. Since there are dozens of different styles in this section, there's no wrong way to create your creative and engaging curved text box.
How do you warp text to a shape in PowerPoint?
A presentation is even more dynamic with warped text shapes in PowerPoint! You can easily insert curved text into your slides, from inserting tabs to enabling text styles.
Just insert an object on the slide and then add a text box. Once that is done, you must find the right part of the insert tab to insert curved text and be ready for editing.
To make sure everything looks perfect, choose from many variations of borders and line widths so that your presentation has elegance and style throughout - all thanks to warping your words into shapes!

Curved text in PowerPoint can breathe life into an otherwise blank presentation. Write any text on curves and shapes, such as a stair-step, circle, or arch, to further connect with your audience or emphasize specific points.
Aside from the standard font options already built into the platform, the curved text offers additional ways to engage viewers by assigning texts a visually dynamic form.
After writing the desired text, you can modify it by changing its curve style, direction, size, and more for that unique and engaging PowerPoint presentation you had in mind.

Related Articles:
How to Add Notes to a PowerPoint
Get A Free Sample of Our Award-Winning PowerPoint Templates + University
Get A Free Sample of Our Award-Winning PowerPoint Templates + University
Join our mailing list to receive the latest news and updates from our team.
Don't worry, your information will not be shared.
We hate SPAM. We will never sell your information, for any reason.