
Tips For PowerPoint: Wrap Text Around Image Quickly And Easily
Mar 30, 2023
Do you want to learn to wrap text around an image in your PowerPoint slide?
Microsoft PowerPoint doesn't have the same text-wrapping feature as Microsoft Word. However, we can still show you how to wrap your text around an image in your presentation.
In this blog post, we will go through the following processes:
-
Using a text box around an image in PowerPoint
-
Wrapping the text in a Word document and inserting it in PowerPoint through the "Object" feature
-
Customizing the wrapped text in PowerPoint.
-
Frequently asked questions about wrapping text around an image in PowerPoint

Discover How to Wrap Text Around an Image in Microsoft PowerPoint in 2 Ways!
Using a text box around an image in PowerPoint
A text box is one way to wrap text around an image in a PowerPoint slide. To do that, follow these steps:
-
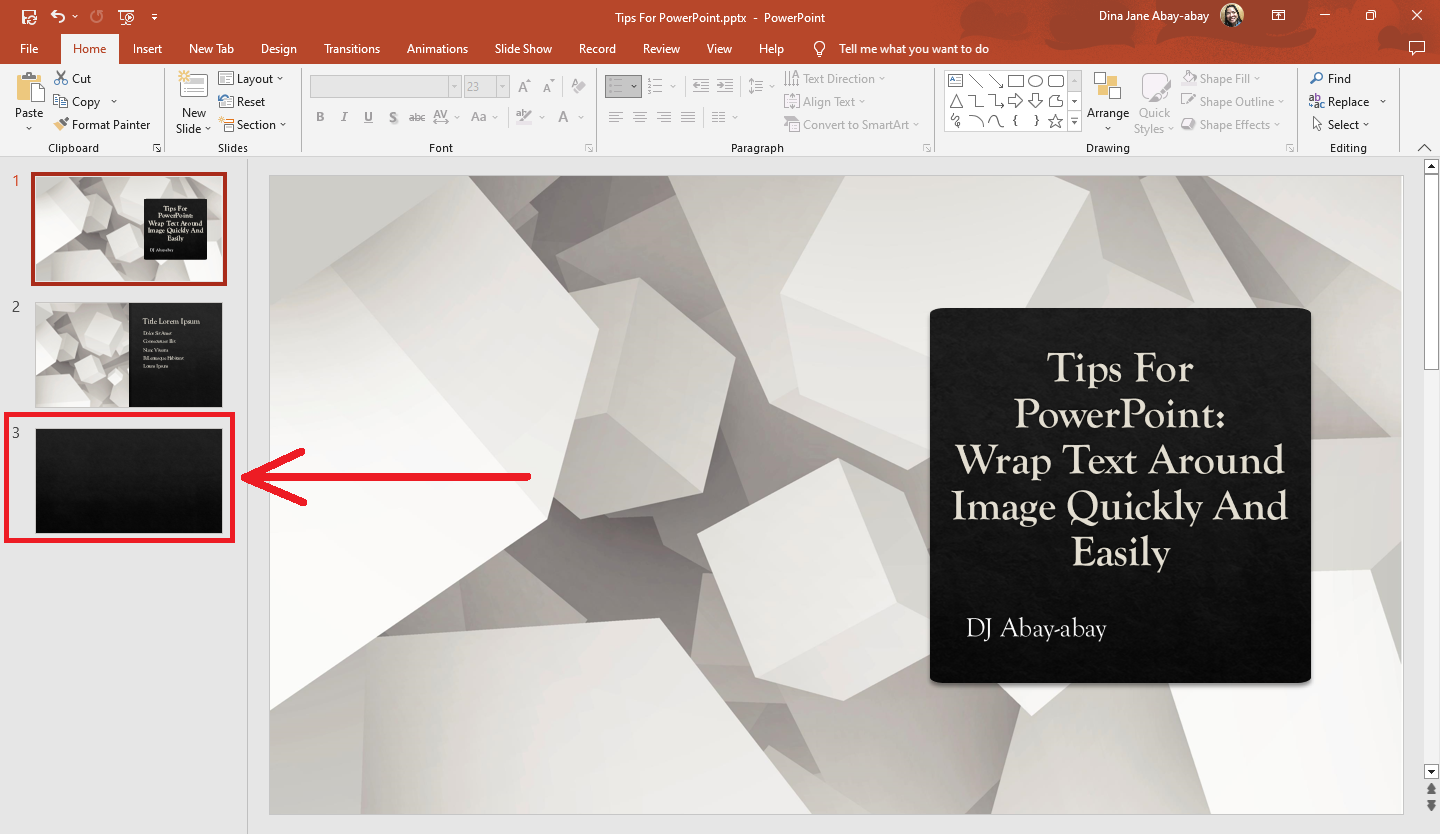
Open your Microsoft PowerPoint presentation and select the slide where you want to insert your image.
-
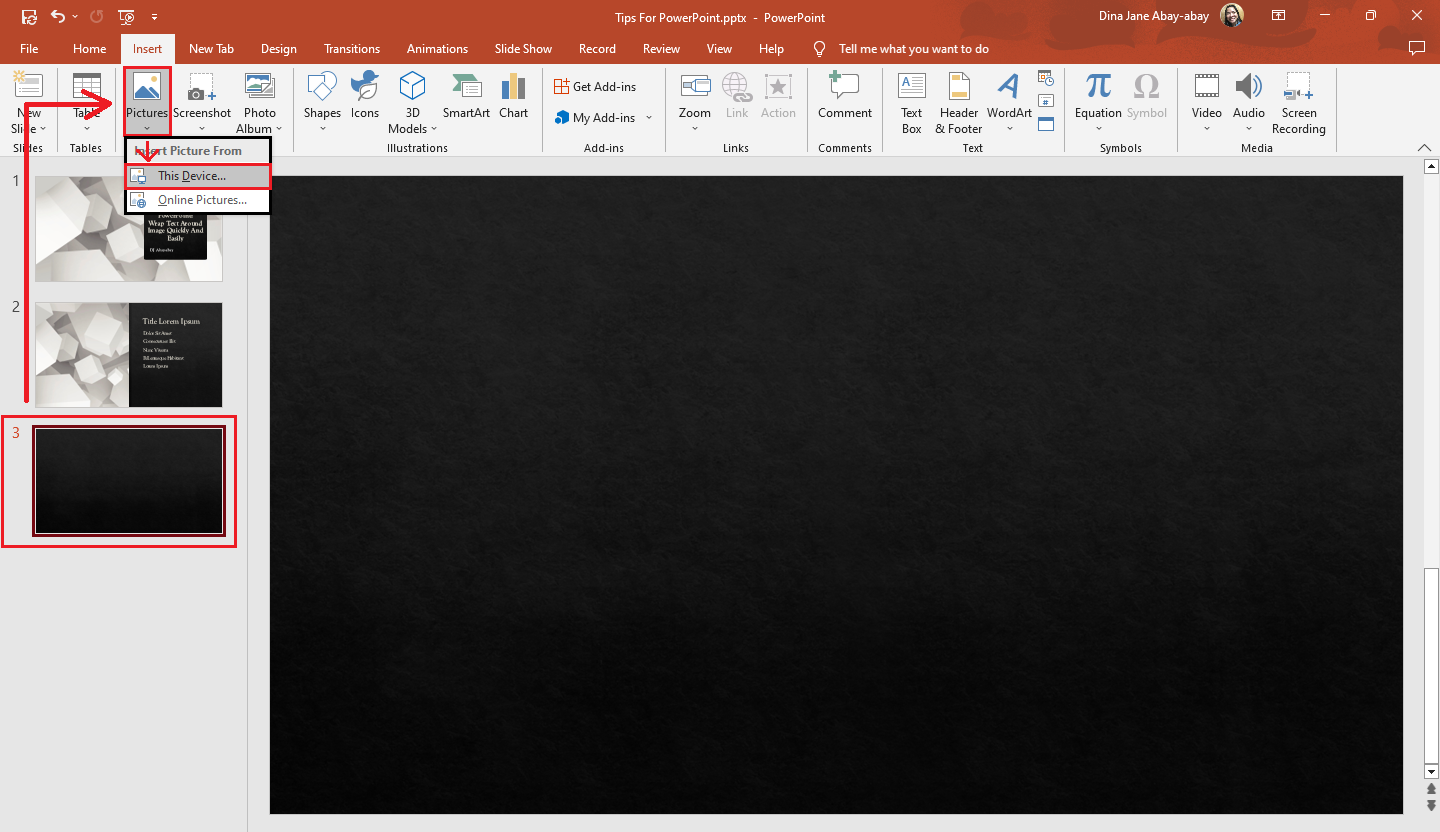
Go to the "Insert" tab and click "Pictures." Then, from the "Pictures" drop-down menu, select "This Device" to import the image.
-
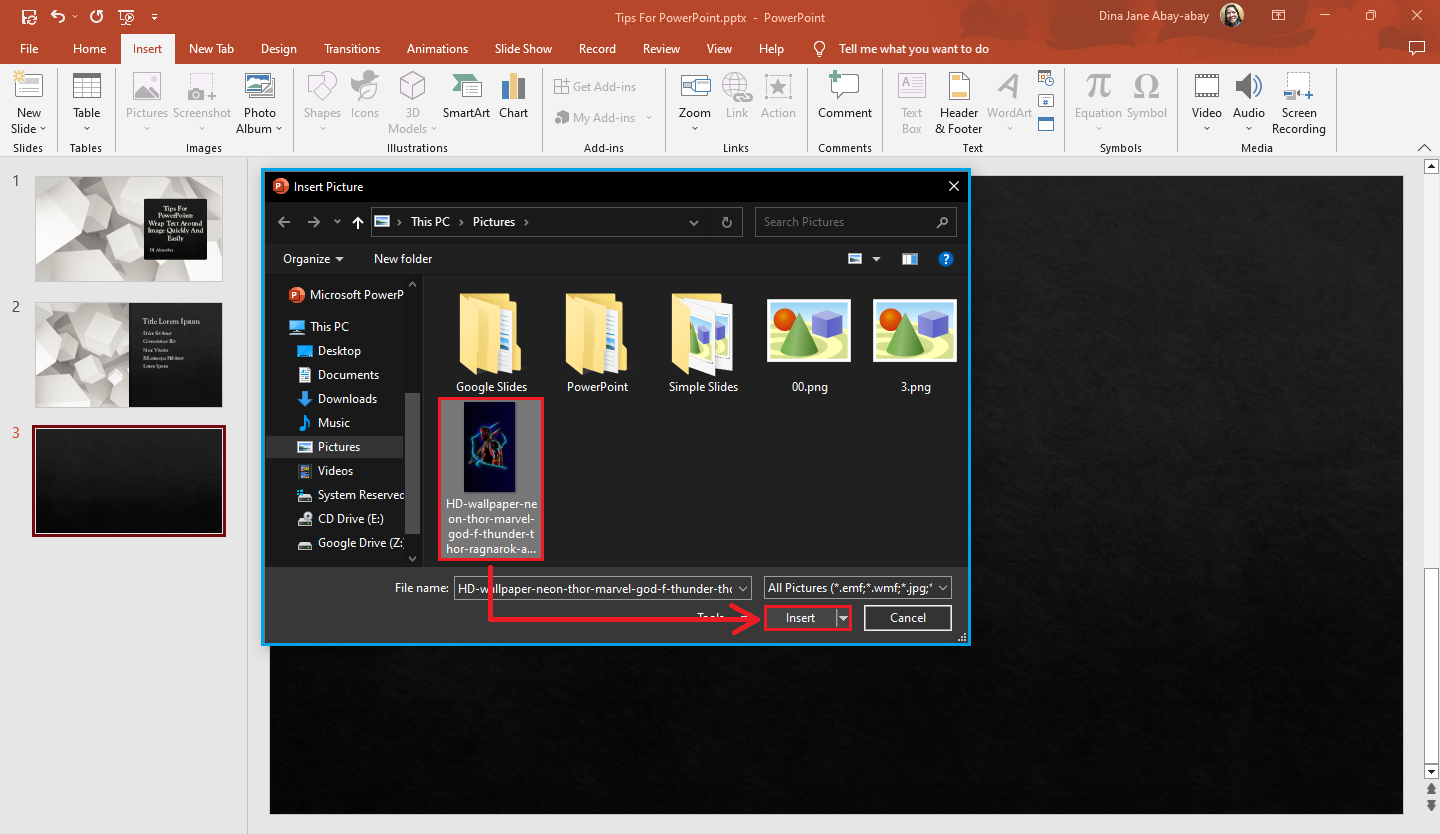
When the "Insert Pictures" dialog box appears, select the image to put into your presentation slide and click "Insert."
-
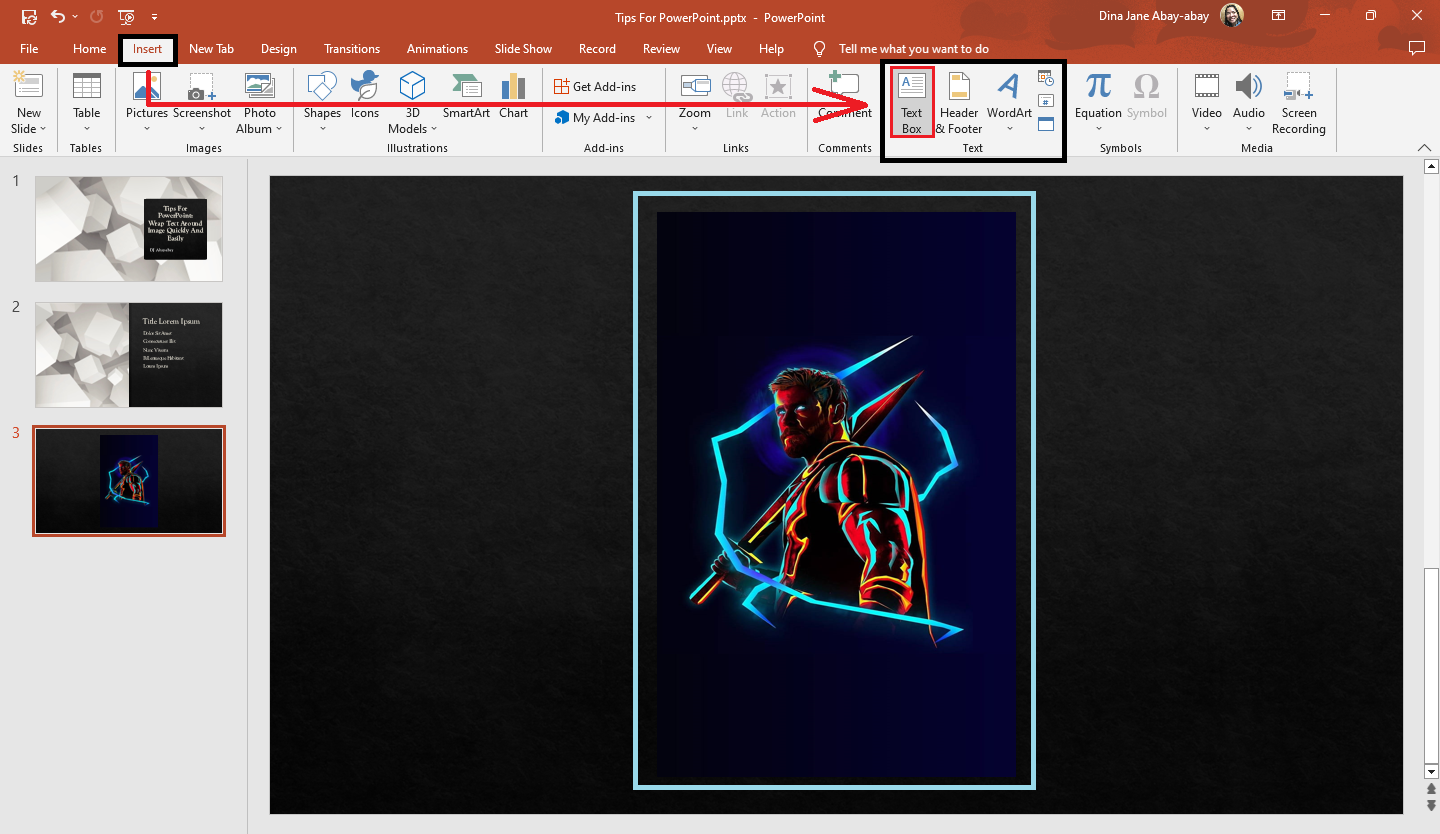
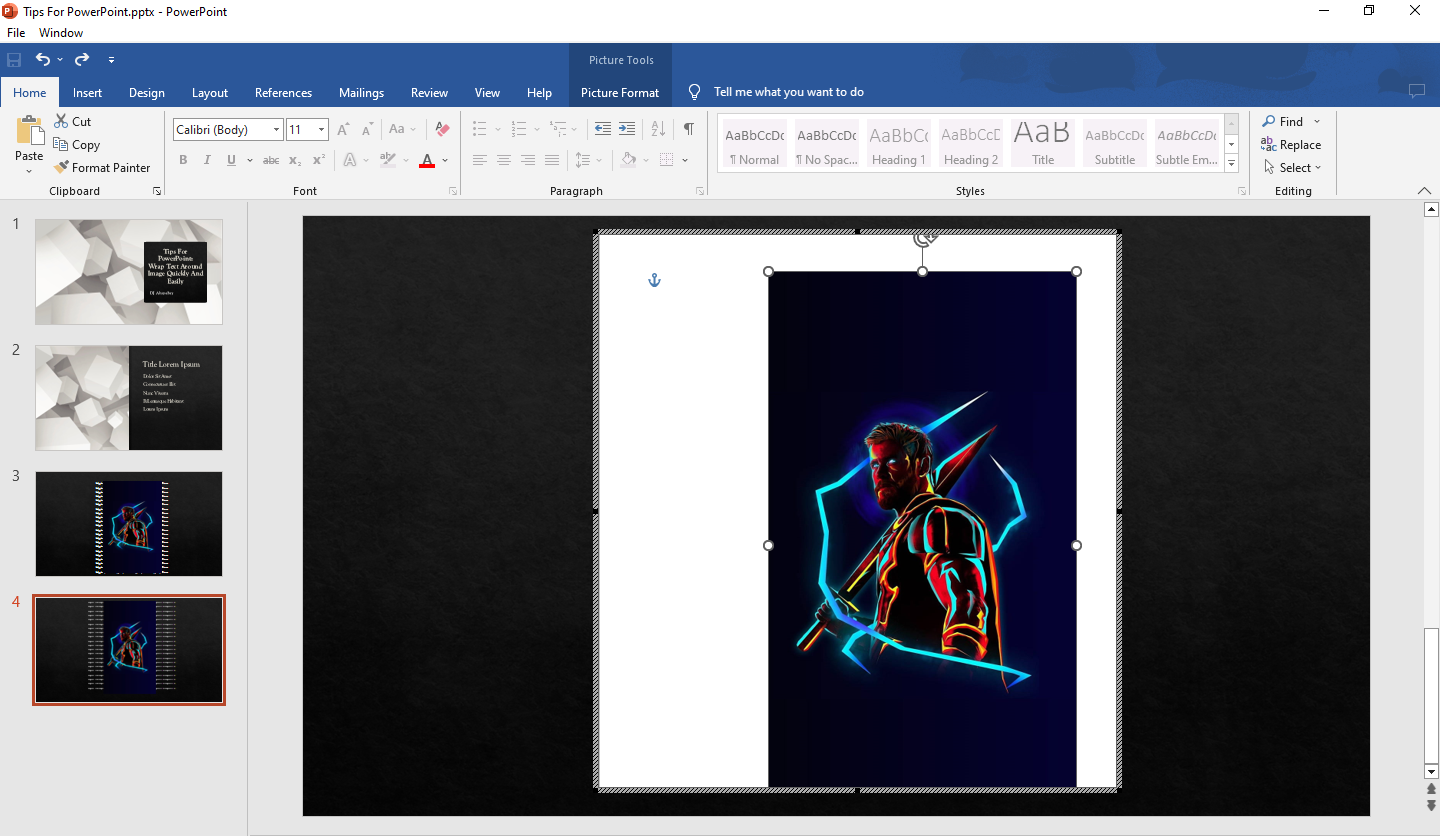
After you insert your image on your slide, go to the "Insert" tab and click "Text Box" on the "Text" section.
-
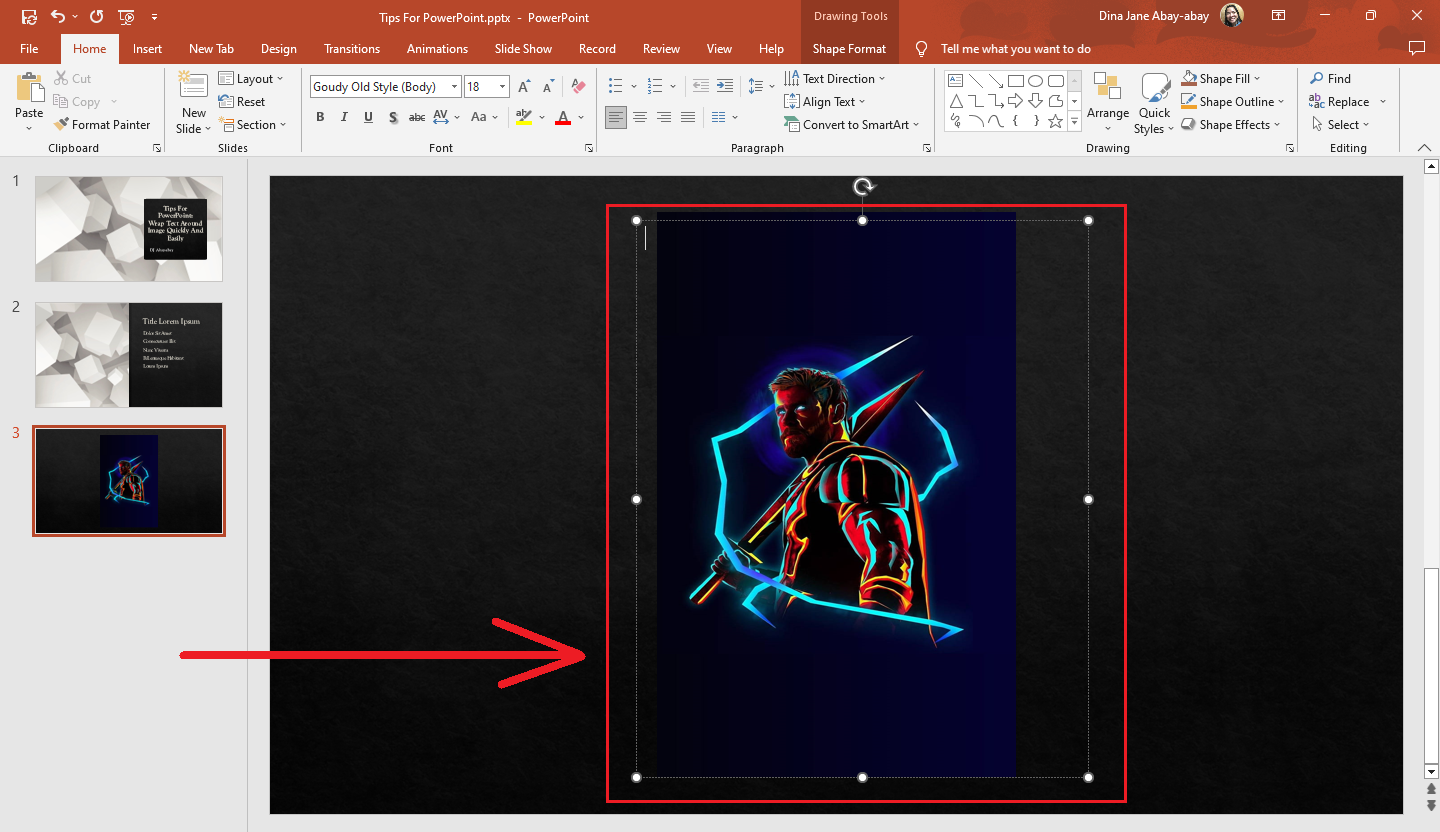
When your mouse cursor turns into a cross-hair icon, click and drag the text box around the image on your PowerPoint slide.
-
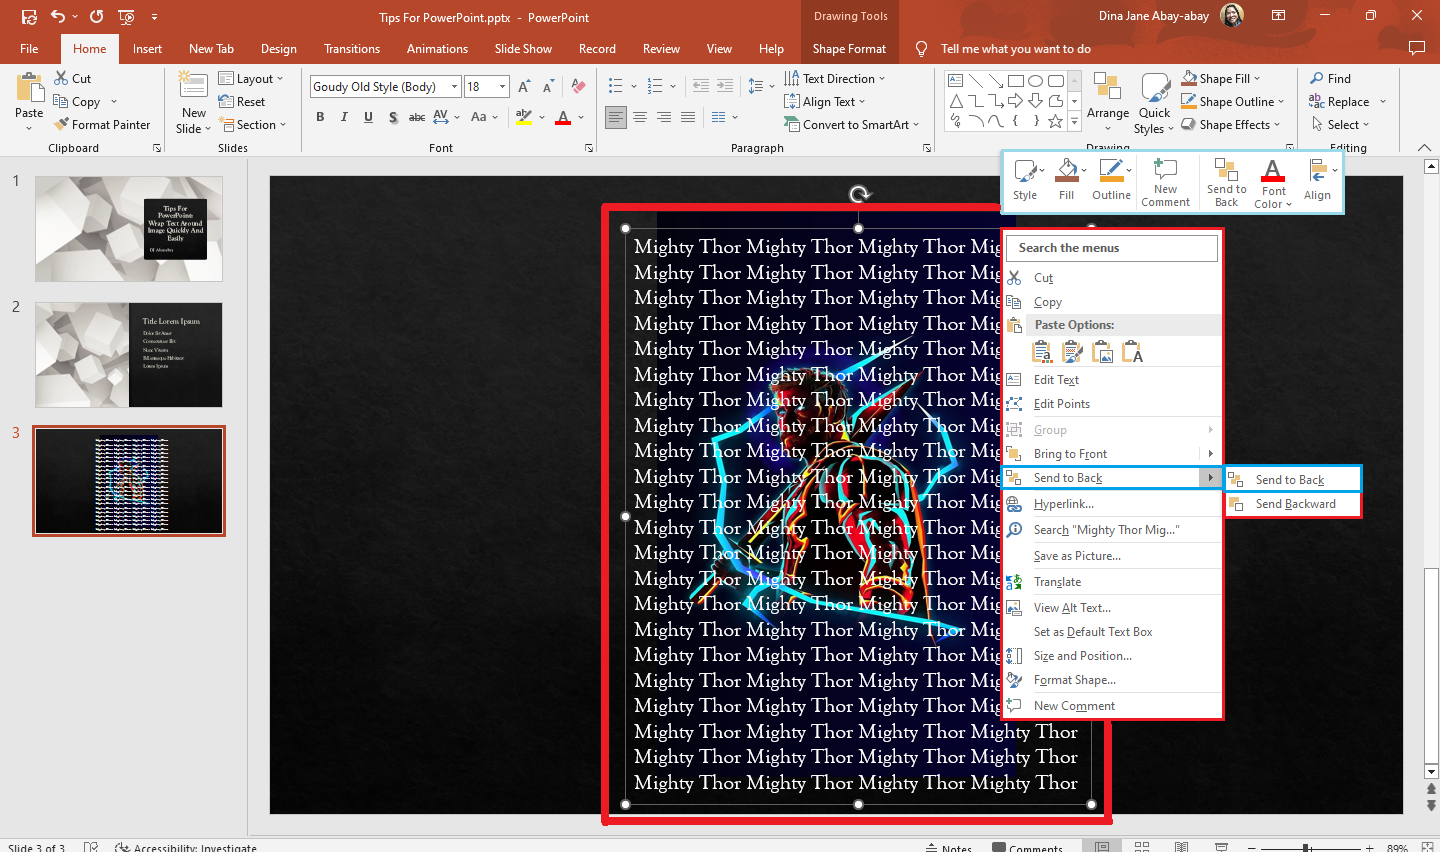
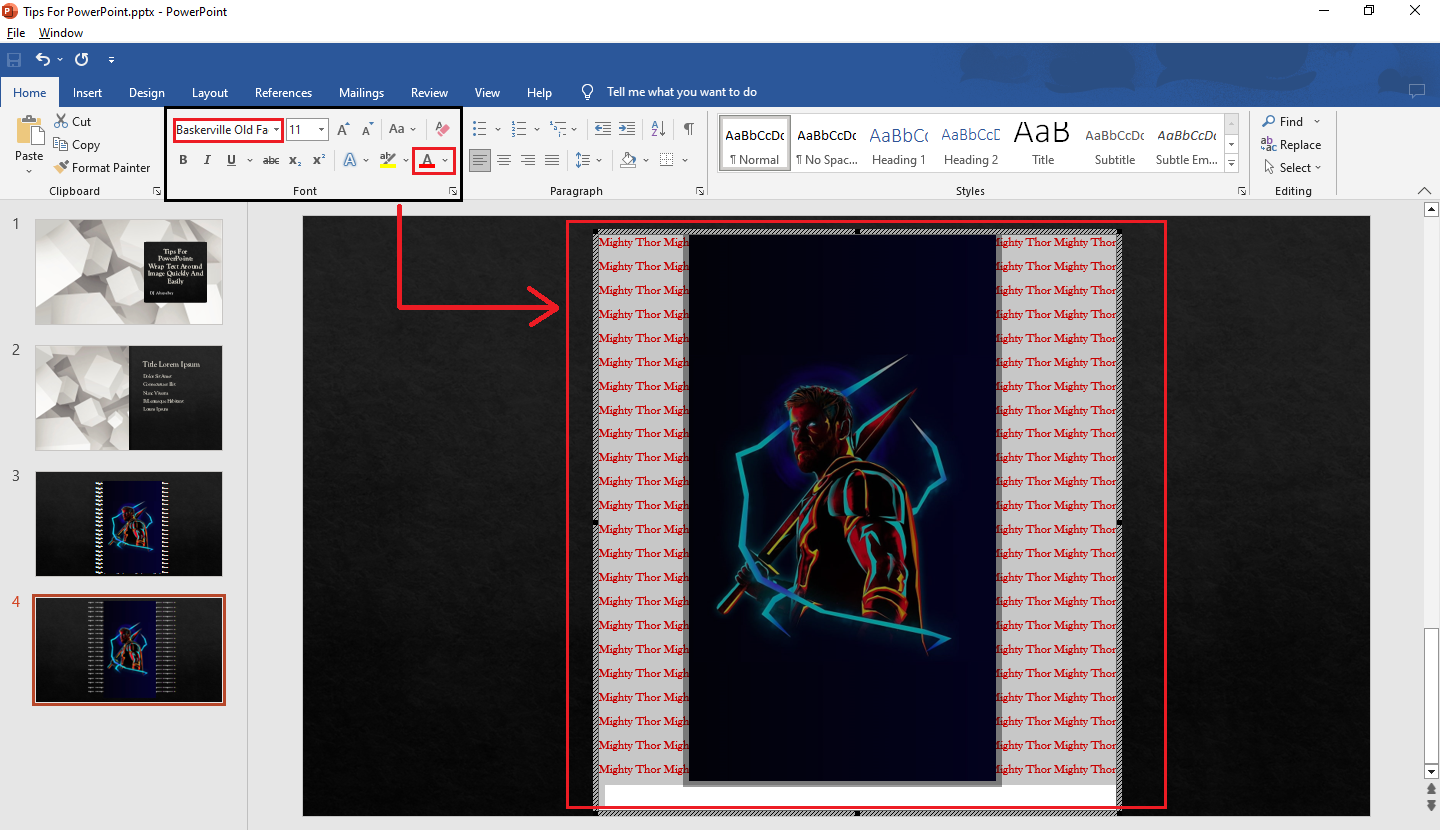
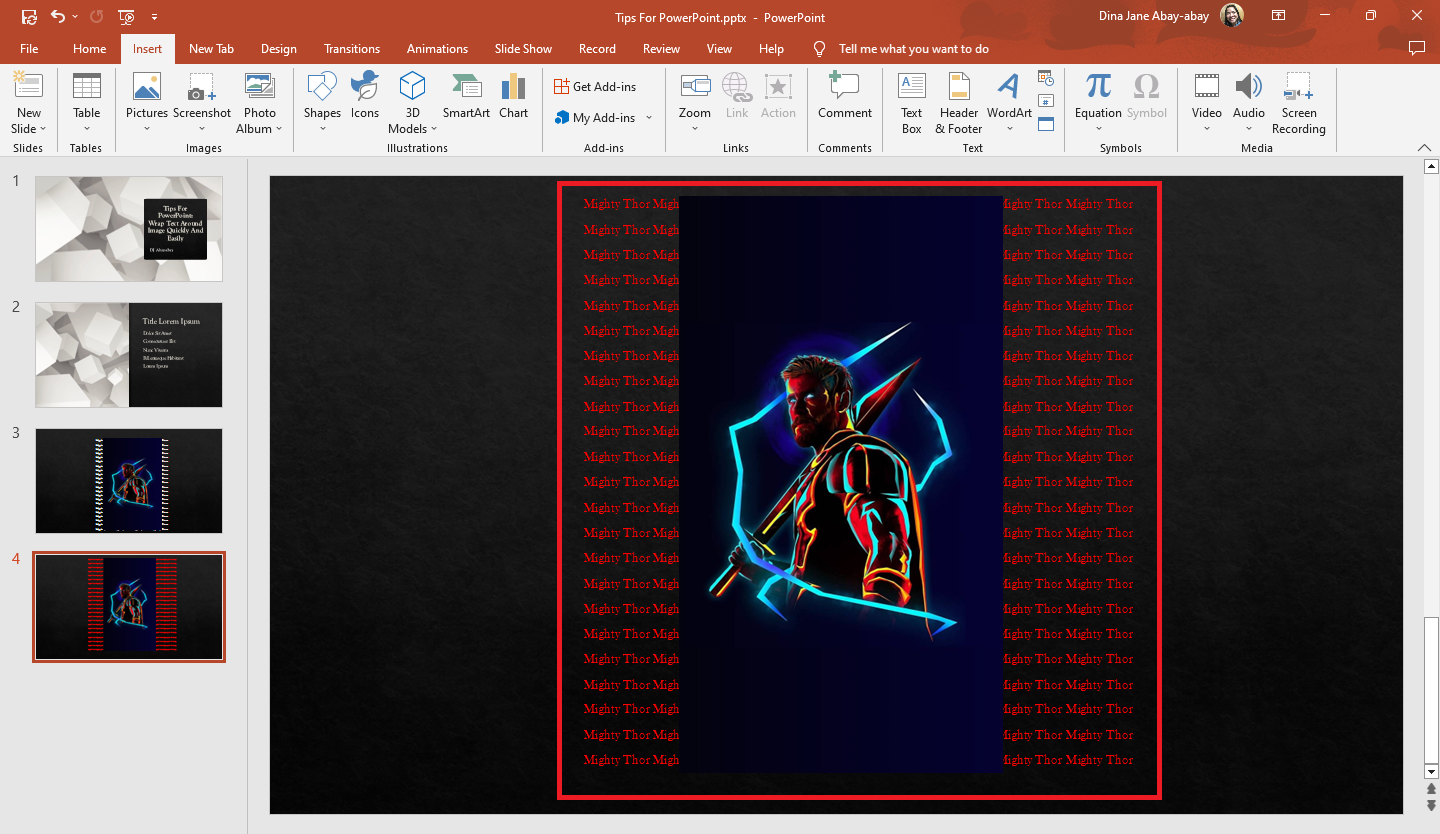
Start typing the text you want to appear on your image. Right-click the text box and click Send to Back -> Send to Back.
-
You have wrapped the text in your PowerPoint image.
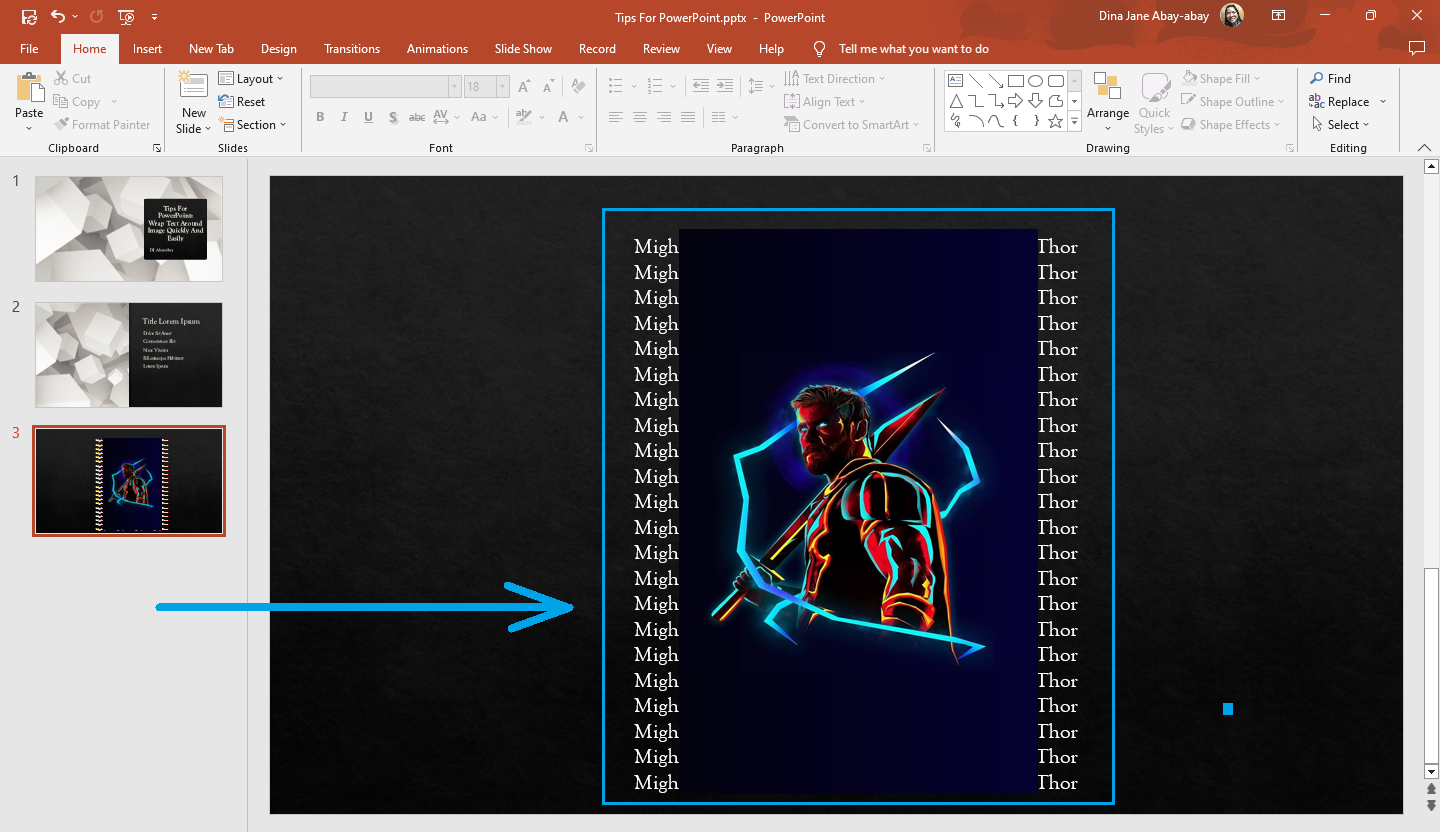
Note: You can also place more text boxes by your image's sides, top, or bottom.
Wrapping the text in a Word document and inserting it in PowerPoint through the "Object" feature
You can also use Microsoft Word to wrap the text around your image. Then, you can import it through the "Object" feature" in PowerPoint. To do this, you have to follow these steps:
-
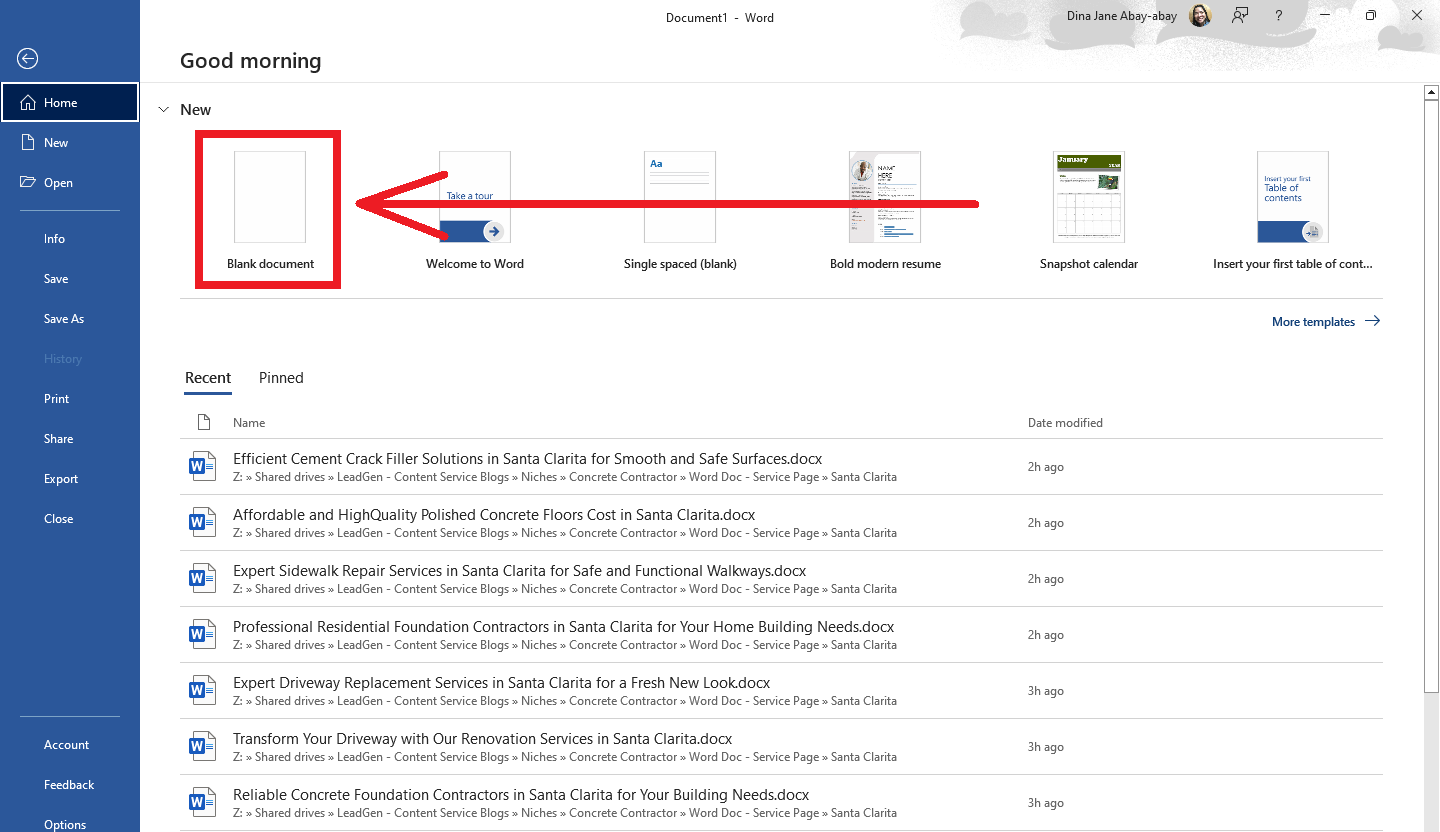
Open your Microsoft Word and select a blank document.
-
Type the text to wrap around the image, go to the "Insert" tab, and select "Pictures." Then, select " This Device " from the "Pictures" drop-down menu,
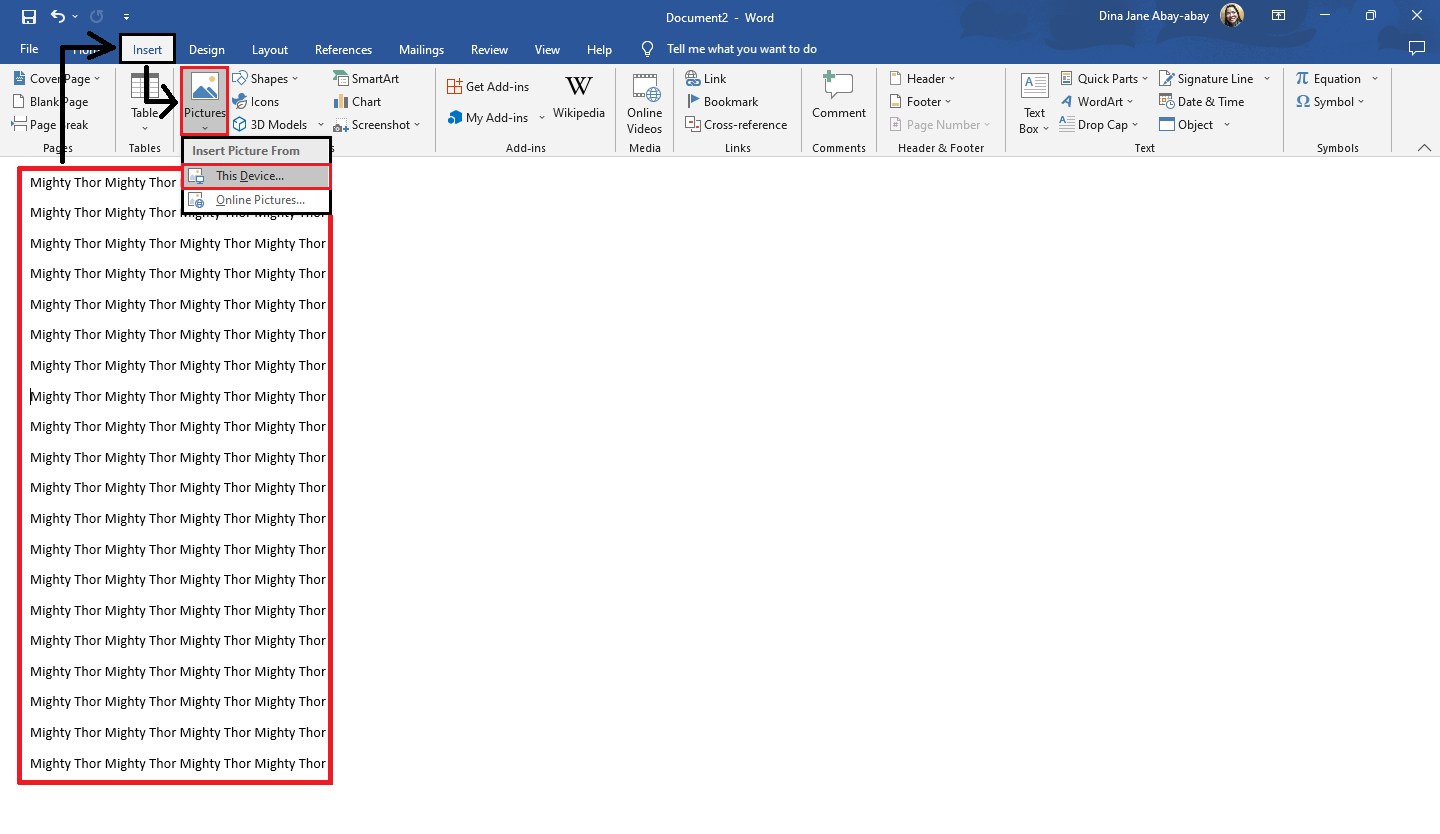
-
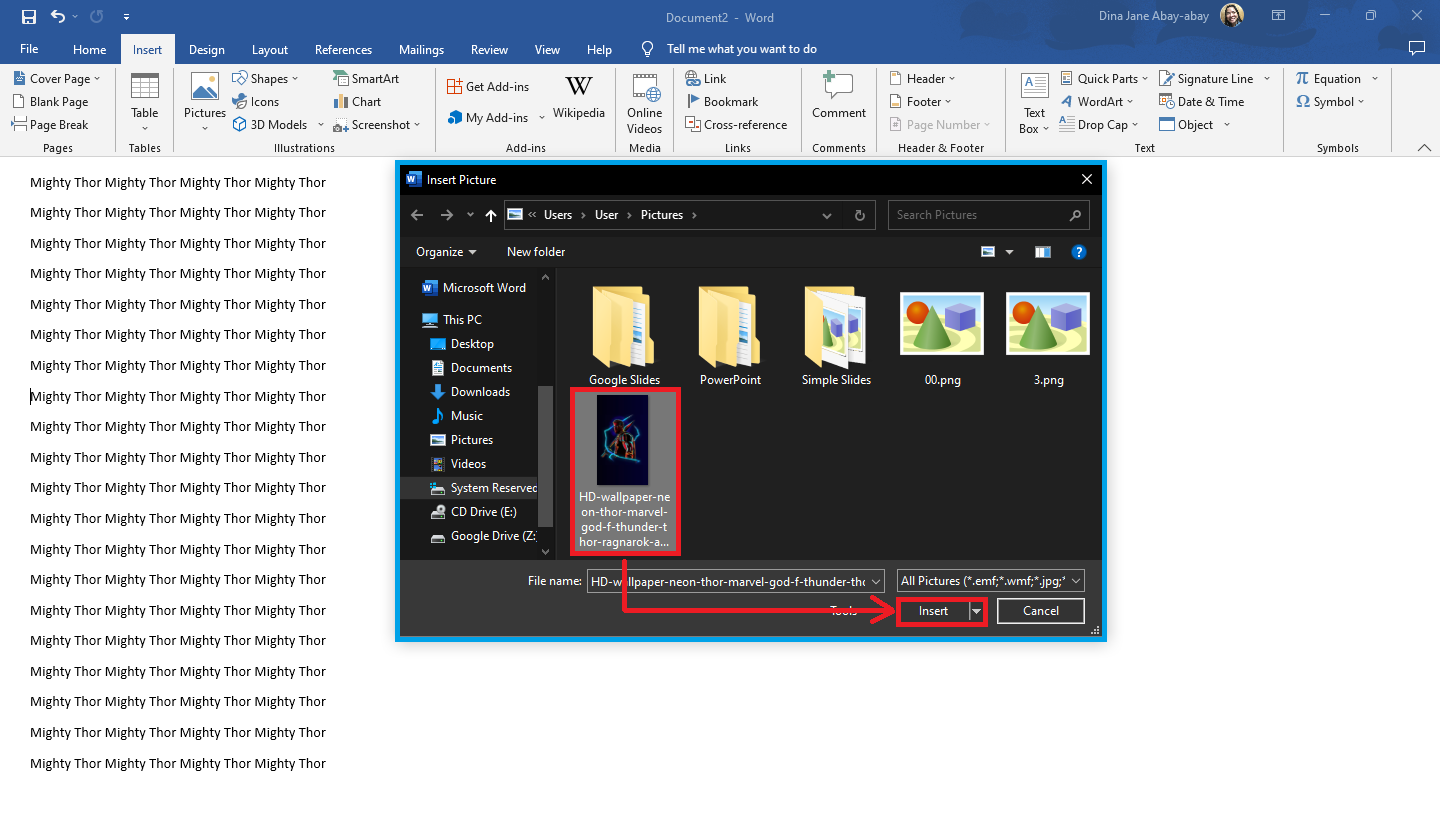
Select the picture you want to insert into PowerPoint. Then, click "Insert."
-
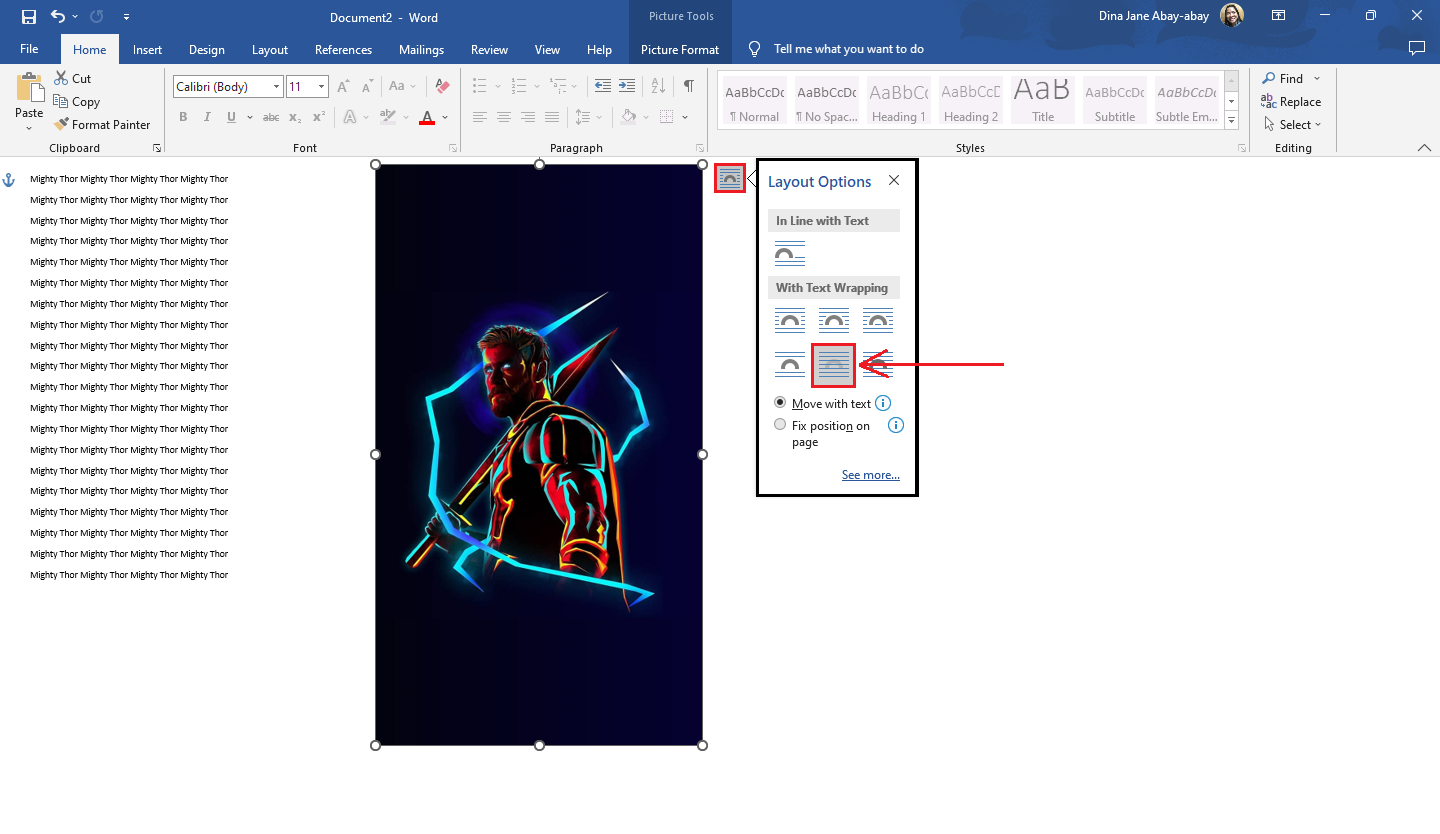
Click the "Layout Options" icon at the upper-right corner of your picture and select a specific text wrapping style for your image.
-
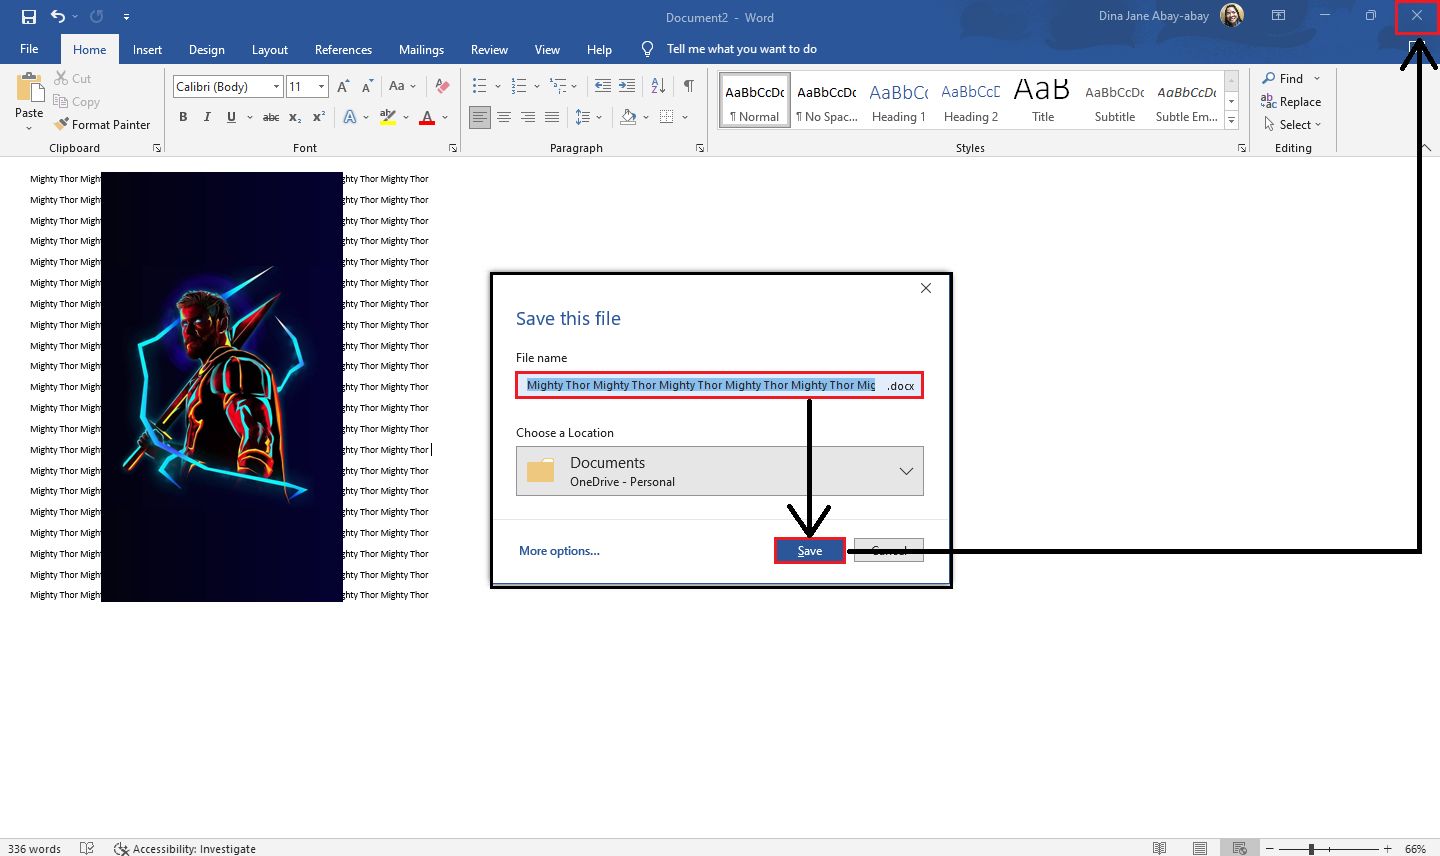
Drag and adjust the image within the wrapped text on your Word document. Save the file, then close it.
-
Open your PowerPoint presentation and select the slide where you want to insert the wrapped text.
-
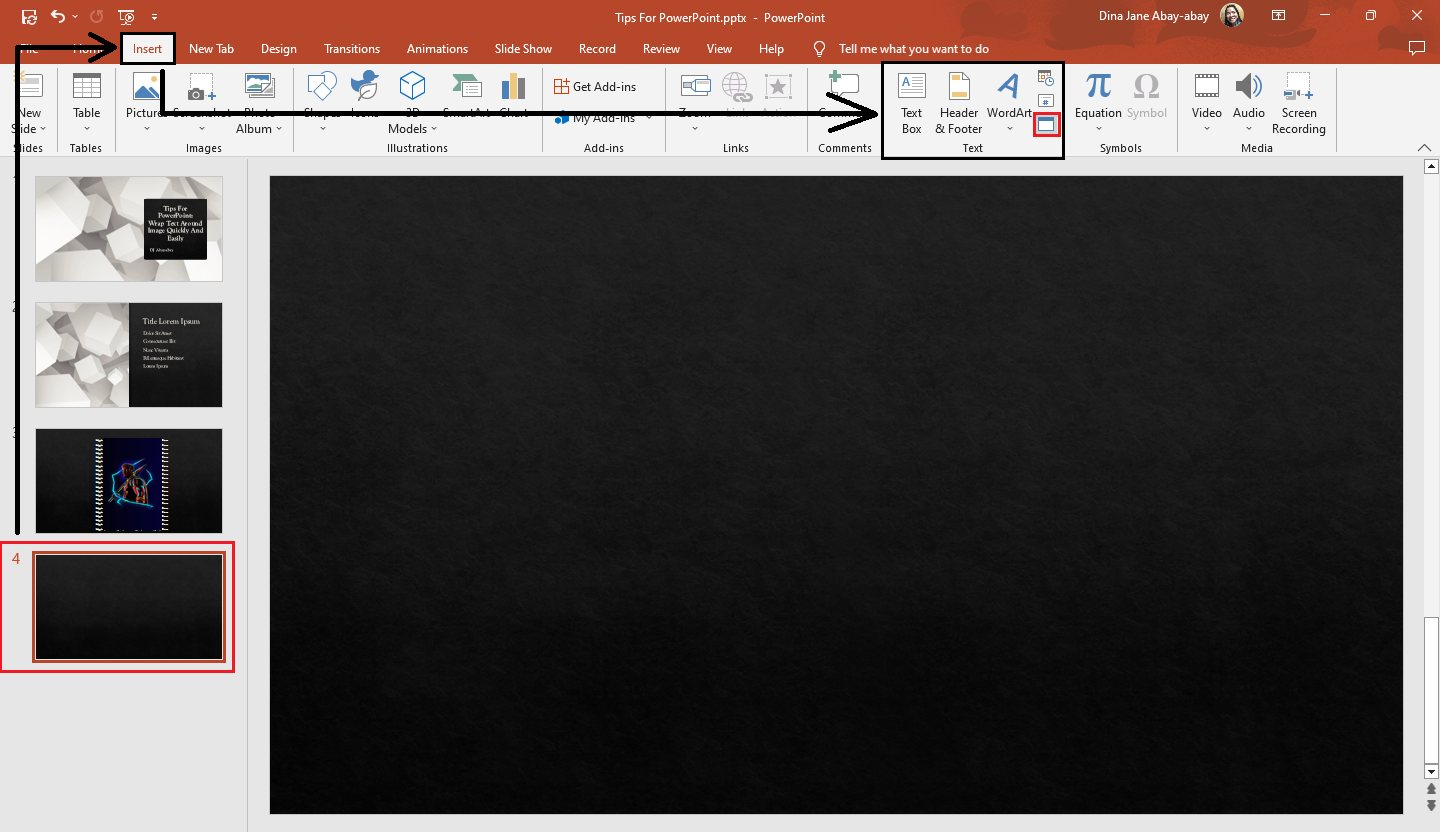
Go to the Insert tab, and select "Object" from the "text" section.
-
When the "Insert Object" dialog box appears, select "Create from file" and click "Browse."
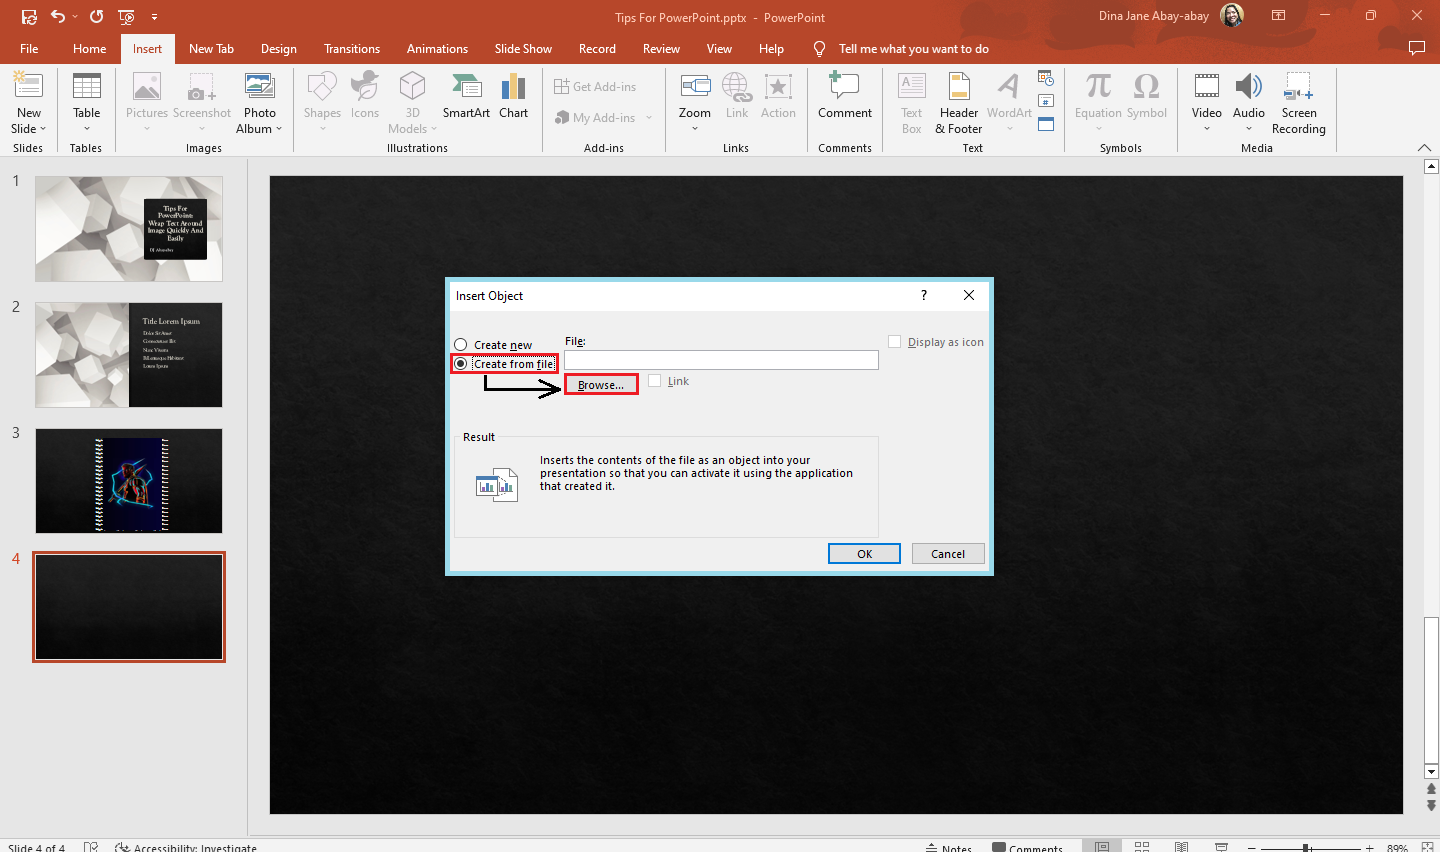
-
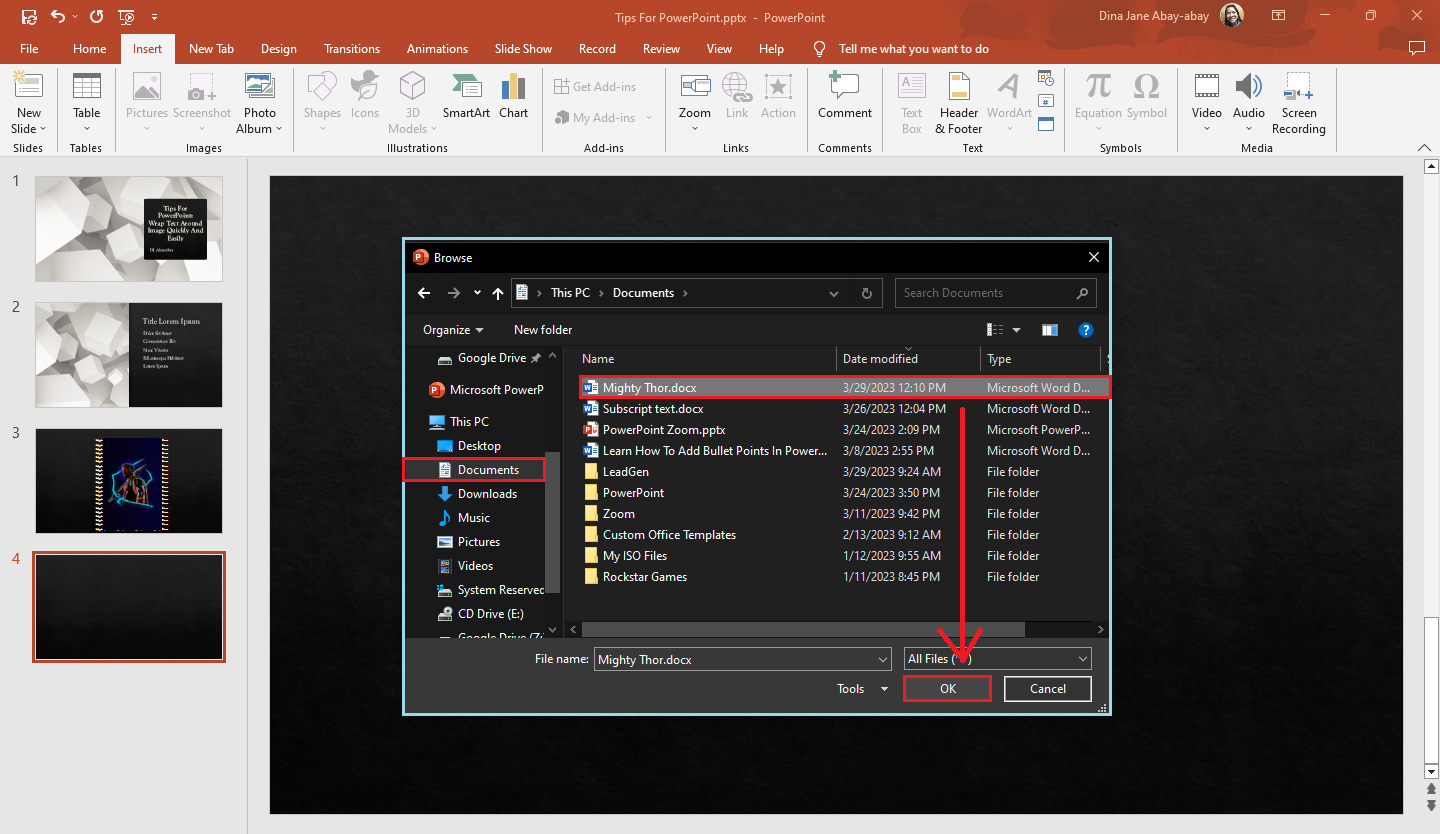
Once the "Browse" window opens, go to the Word file you saved earlier and click "Open."
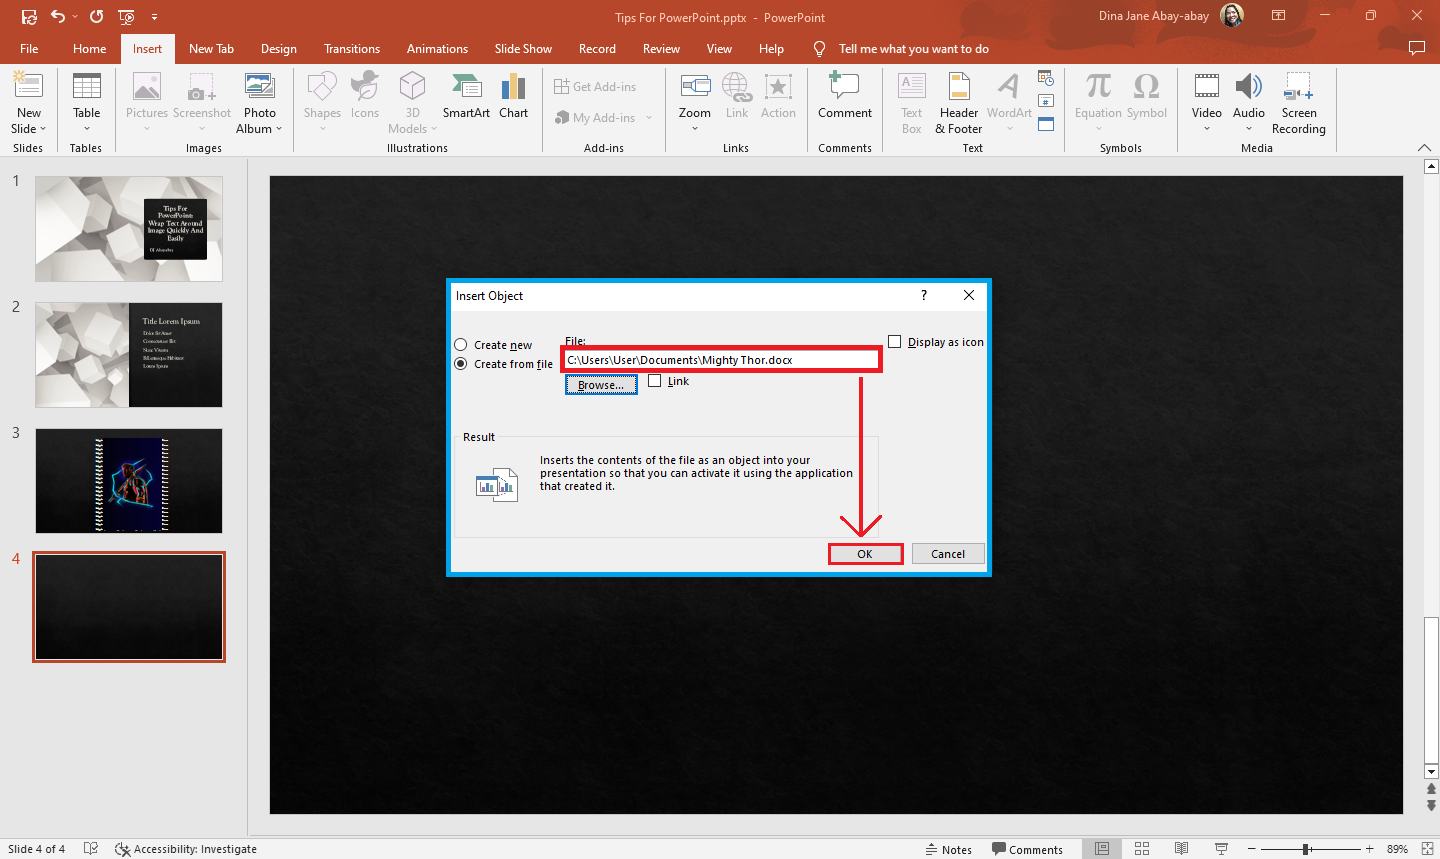
-
On the "Insert Object" dialog box, click "Ok."
-
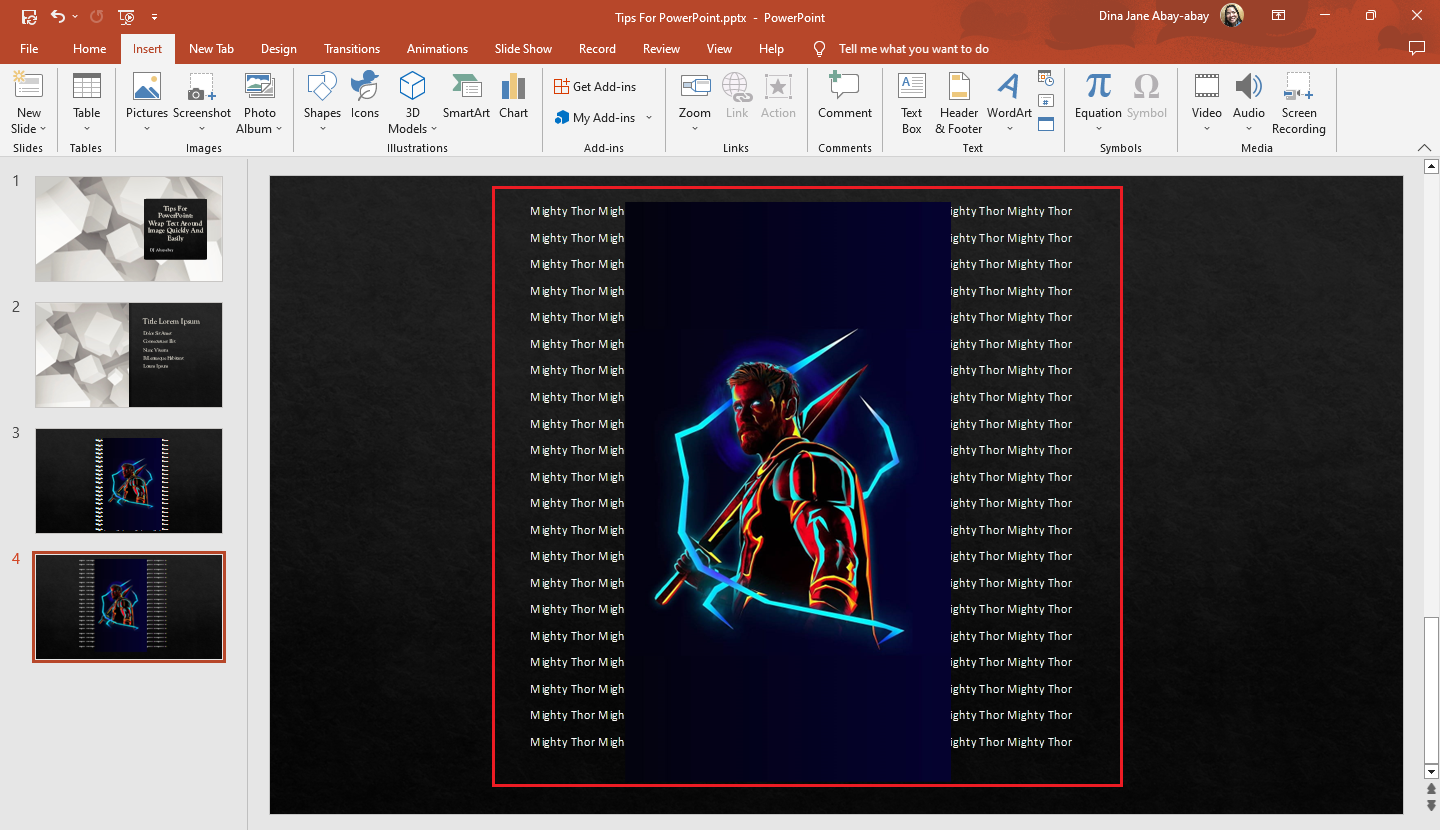
Your text-wrapped image will appear on your PowerPoint slide.

Customizing the wrapped text in PowerPoint
To personalize the wrapped text you imported from a Word document, you must:
-
Double-click the picture with text wrap.
-
A preview from the Word document will appear. Put your cursor on the wrapped text and select the text you need to customize.
-
You can change the font type, size, and color of the text wrapped around the image.
-
After customizing the text, press "Esc" on your keyboard to return to the PowerPoint presentation.
Final Thoughts on How to Wrap Text around an Image in PowerPoint
Pick any methods above for wrapping text around an image in your PowerPoint presentation. This way, you can easily align and incorporate the text you're using beside the image.
Do you have an urgent business presentation for your business? Visit Simple Slides to access over 10,000 customizable PowerPoint templates, slides, and infographics. Check out our YouTube channel to watch PowerPoint and Google Slides tutorials!
Frequently Asked Questions about Wrapping Text around an Image in PowerPoint:
How can I easily adjust my wrap text in PowerPoint?
You can quickly adjust your wrapped text in PowerPoint by enabling the ruler and gridlines from the "View" tab.
What shortcut keys enable This Device from the drop-down menu on Pictures?
Just press Alt+N+P+D to enable This Device from the drop-down menu of Pictures.
What text wrapping options does Microsoft Word offer that PowerPoint can feature?
There are seven available wrapping text features in Microsoft Word, namely:
- In-line in text
- Tight
- Square
- Top & bottom
- Through
- Behind
- In front of the text
Related Articles:
How To Add PowerPoint Page Numbers In 2 Quick and Easy Ways
Get A Free Sample of Our Award-Winning PowerPoint Templates + University
Get A Free Sample of Our Award-Winning PowerPoint Templates + University
Join our mailing list to receive the latest news and updates from our team.
Don't worry, your information will not be shared.
We hate SPAM. We will never sell your information, for any reason.