How to Align and Distribute Objects on PowerPoint
May 31, 2021
Small details can communicate big things to your audience. People can tell if spacing or sizing is off between images or text.
While most non-designers won’t be able to put their finger on what is wrong with the design, they will feel it is causing your PowerPoint to be distracting when it’s supposed to strengthen your pitch.

This tutorial will walk you through How to Align and Distribute Objects. Aligning and distributing objects helps you create images, shapes, and texts that follow design guidelines, are centered, and are the same size.
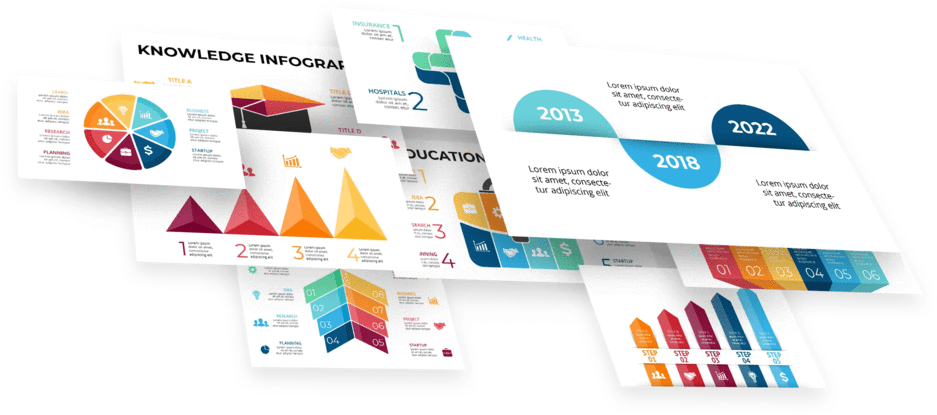
Here is a sample slide from one of Simple Slide’s numerous templates, Simple. As you can see, a creative visual at the top comprises evenly distributed rectangular bars of varying colors.
First, we’ll show you this excellent feature in PowerPoint that lets us evenly align and distribute objects such as shapes, texts, and images without needing to measure them with an actual ruler.
Here are two square shapes. As I place one object around different areas, dashed lines appear, guiding the second shape to align with the first one differently.
We want to place this shape beside the first one and have a third shape also aligned and evenly distanced from the first two.
We must drag the shape and let the guidelines direct me to the correct position. The guidelines also show that the objects are evenly distanced with those distance guides between each shape. It also helps the shapes automatically clip once you place them in aligned positions.

Now that we got the basics down pat let’s try to recreate the slide we had earlier. We have already prepared five rectangular shapes of varying lengths.
The first step is to take the most extended shape and place it at the top center of the slide. To do this, place your shape at the top, go to Format, click on Align, and then choose the Align Center option from the dropdown.
Once the object is placed correctly, we can proceed to the second rectangle. Decide how you want to distance the rectangles and place them on the left or right of the first one.

This is the distance I would like my rectangles to have. Grab the rest of the rectangles, and once we place the third one near the first two, the guidelines click the object in place, positioning it at an exact distance from the first two shapes.
Let’s do the same with the fourth bar.
Grab it and click it into place. The same goes for our fifth bar; as you can see, the guides between the shapes show that they are all evenly distanced.
All that’s left is the correct part. Earlier, I could have prepared nine rectangles instead of just 5, but here is an excellent shortcut on how to do this.
Select these four rectangles by holding the shift key, then left-clicking on each shape. Once everything is selected, right-click on one of the shapes and choose group shapes.
This will group these four shapes into one, and you can move them anywhere while attached. Right-click on this group of shapes, hold it, and drag it.
A copy will appear, and when we let go of the right click, it gives us an option of either copy here, moves here, or cancel. Select Copy Here to duplicate the group.
Now, we have a duplicate of the group of shapes we had earlier. However, it’s in the wrong order. To mirror this, click on the group of shapes, go to format, and select the Rotate tool.
Once clicked, you will have various options to rotate your objects with. Select Flip Horizontal from the dropdown.
Perfectly mirrored the first group. All that’s left is to make sure they are evenly distanced. To do that, reposition the group until the guidelines between the shapes show that everything is evenly spaced.
And there you have it.
A presentation that looks and feels suitable to your audience.
For more spectacular tips on utilizing PowerPoint, follow us on YouTube or read about How to Play Videos on Multiple Slides and How to Make a Brochure Using PowerPoint for your presentations.
Get A Free Sample of Our Award-Winning PowerPoint Templates + University
Get A Free Sample of Our Award-Winning PowerPoint Templates + University
Join our mailing list to receive the latest news and updates from our team.
Don't worry, your information will not be shared.
We hate SPAM. We will never sell your information, for any reason.