How to Add a Border in PowerPoint: Follow These Quick and Easy Steps
Jan 25, 2023
Adding a border in PowerPoint is a perfect way to enhance your presentation. A custom border picture can help your slides hold better attention and visuals to impress and catch your audiences.
Though MS PowerPoint has many ways of personalizing your presentation, one way is to add PowerPoint borders to each of your slides, which attracts and provides benefits in situations like reporting and presenting your slides to a particular company and clients.
In this article, We will provide the different methods on how to add a border in PowerPoint presentations, such as;
-
How to add a border to slides in PowerPoint and give your slideshow a sleek design.
-
Customize border outlines.
-
Adding a Border to the Slide Using a Shape Outline.
-
Use clip art to create a more elaborate border.
-
Use Bing Image Search to insert a border.
-
How to Add borders to all slides.

How To Add a Border To Slides in PowerPoint and Give Your Slideshow a Sleek Design.
To add borders to your PowerPoint slide, all you need to do is;
-
Open PowerPoint presentation on your personal computer or Laptop.
-
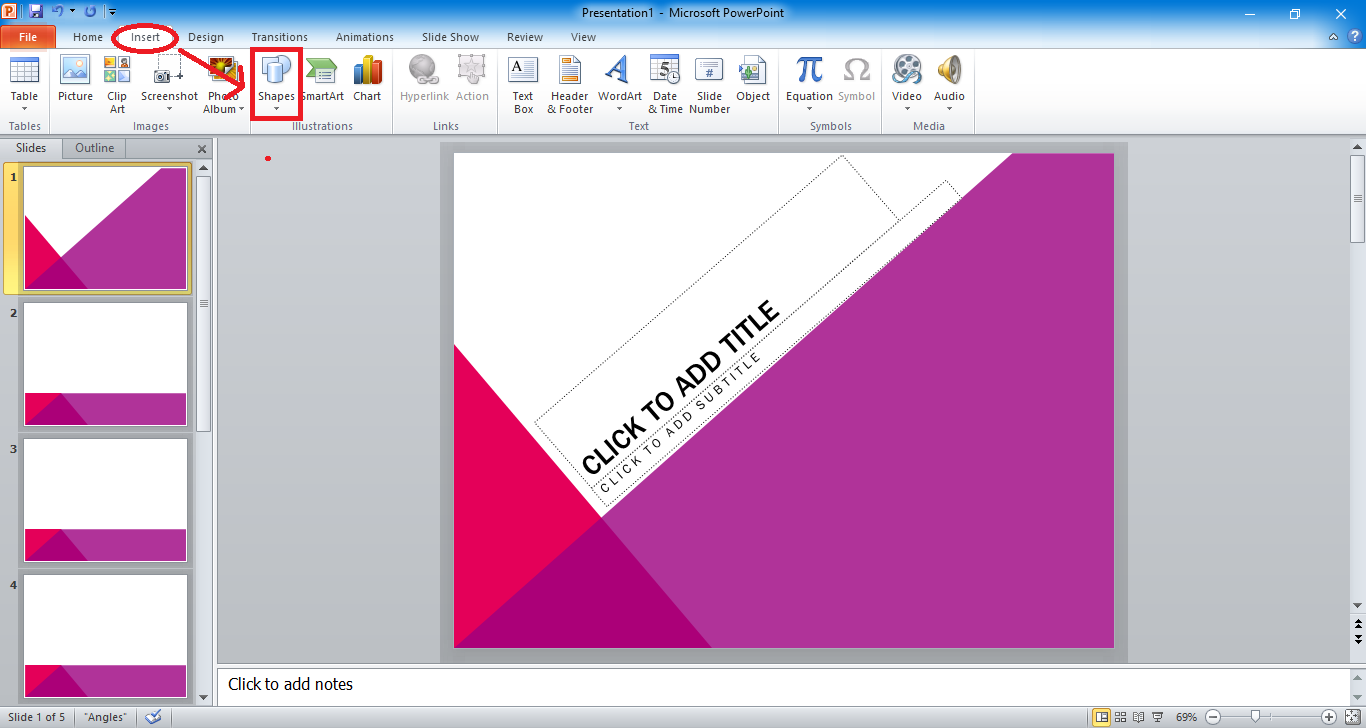
Click "Insert" and select "Shape."
-
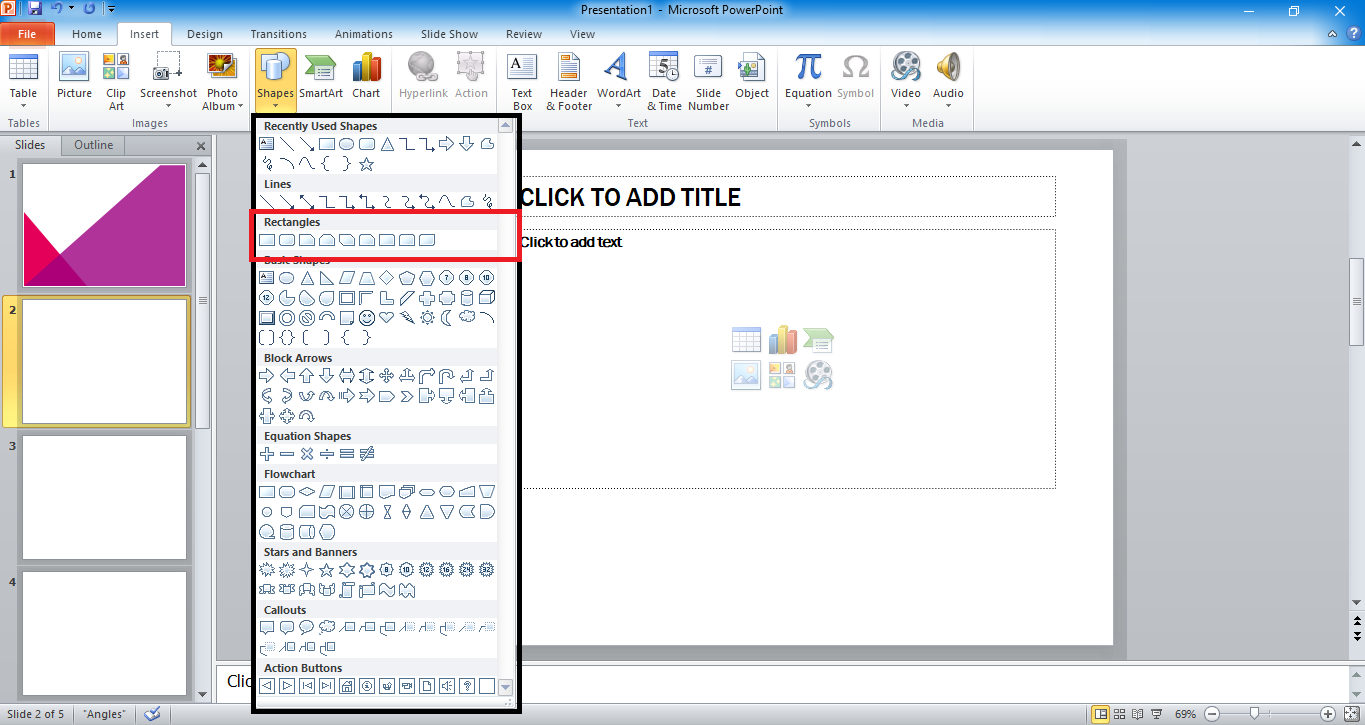
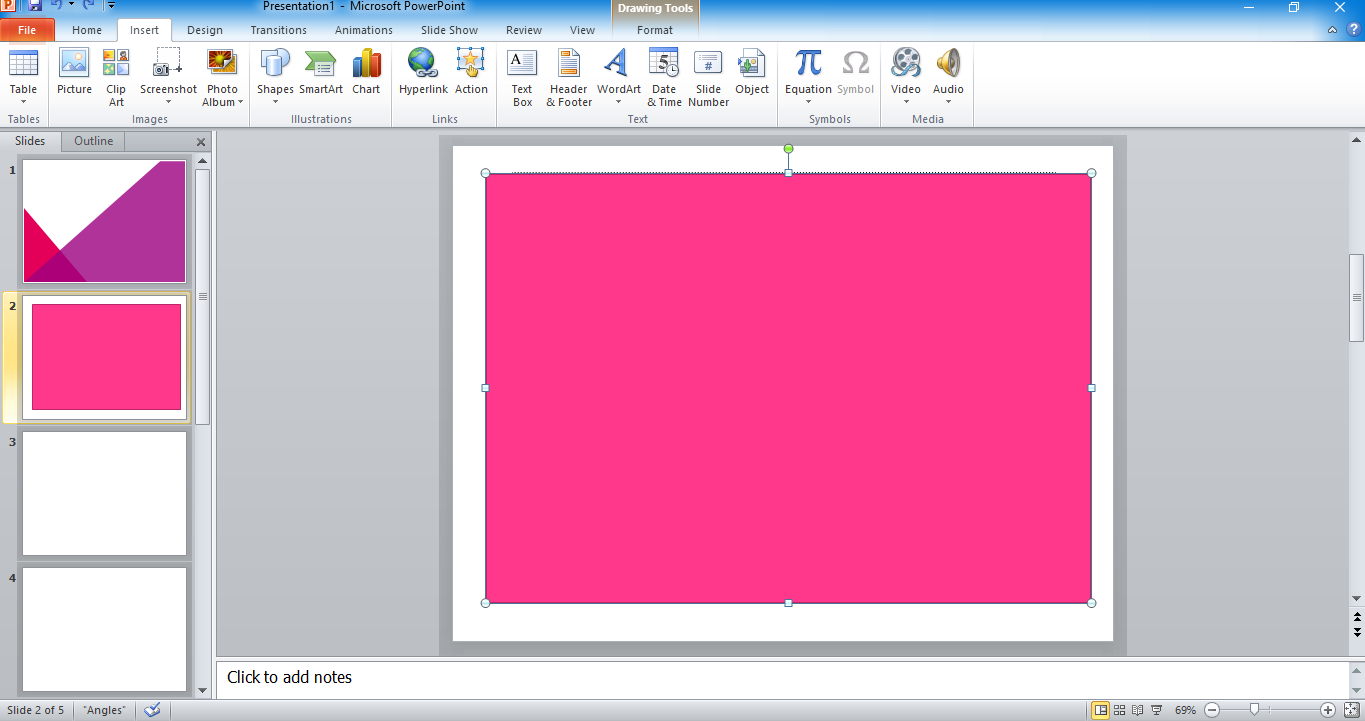
Select a specific shape from the "Rectangles" category.
-
Your cursor will become a "+." Draw a rectangle shape in your "Blank" slide. Start to put it 1 inch away from the upper left corner, hold and drag it down 1 inch away from the lower right corner, then release.
-
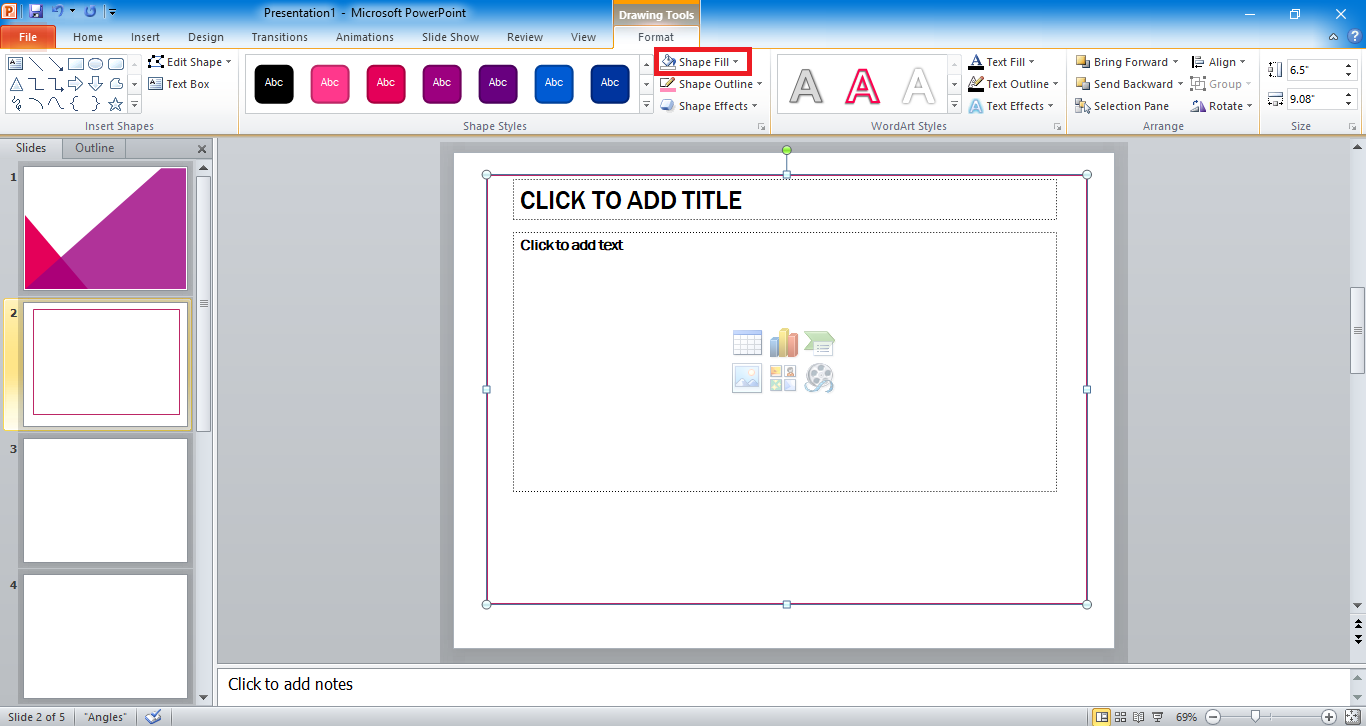
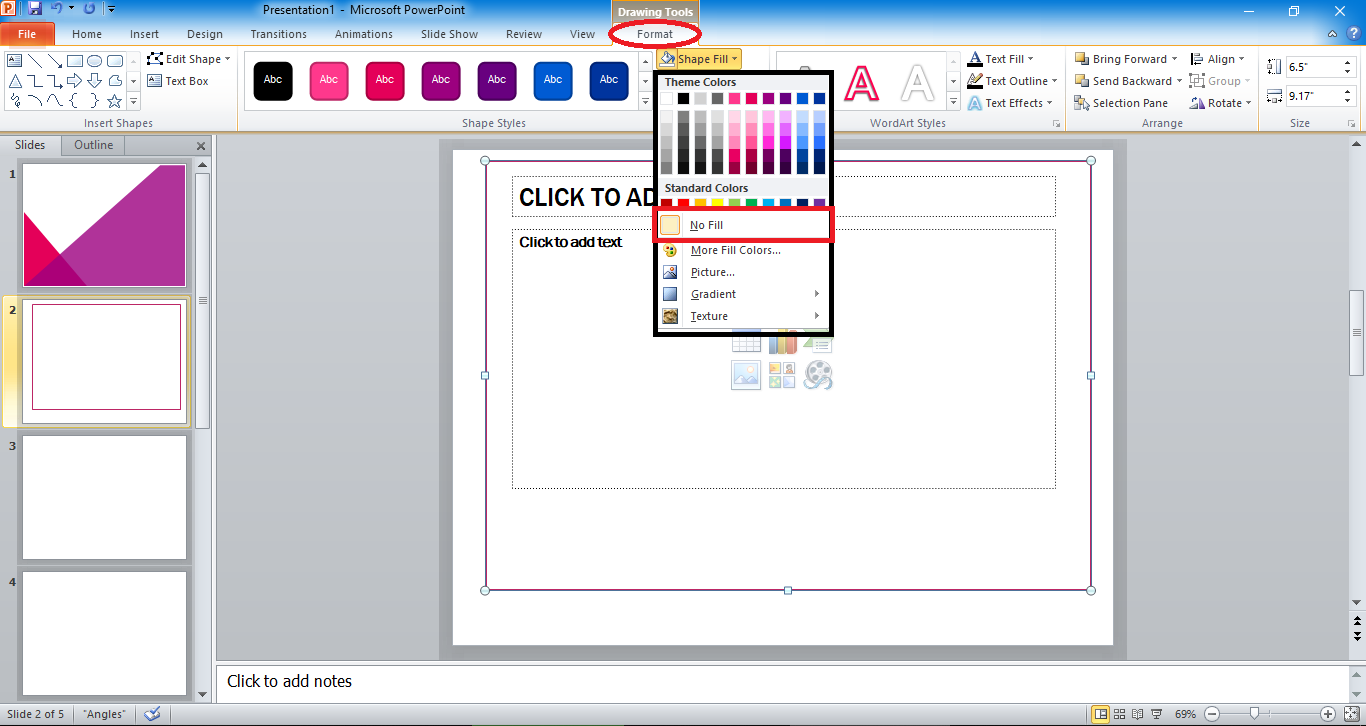
Click on the "Format" tab and select "Shape Fill."
-
In the drop-down menu, click on "No Fill."
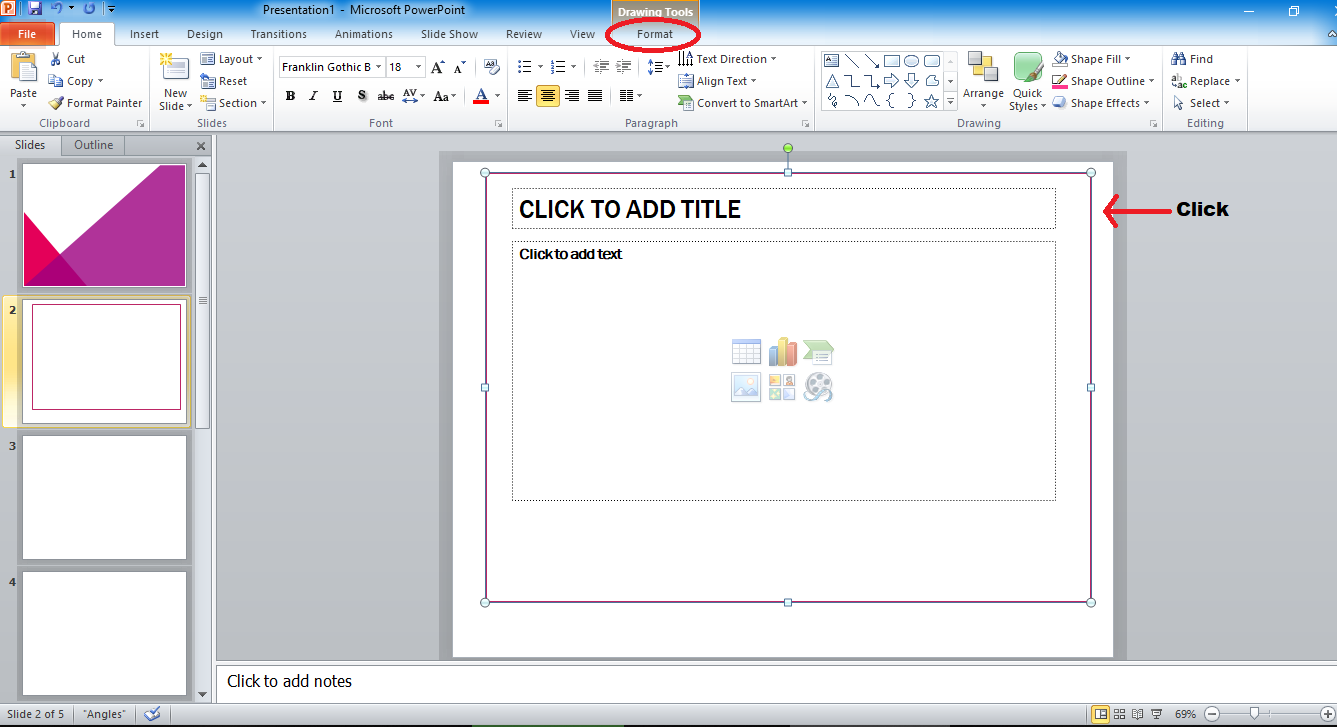
Note: You can also change the position and resize your borderline by clicking it, then dragging and moving your custom border to your desired position.
Customize Border Outlines.
If you like to personalize your border outlines, you can create your border by;
-
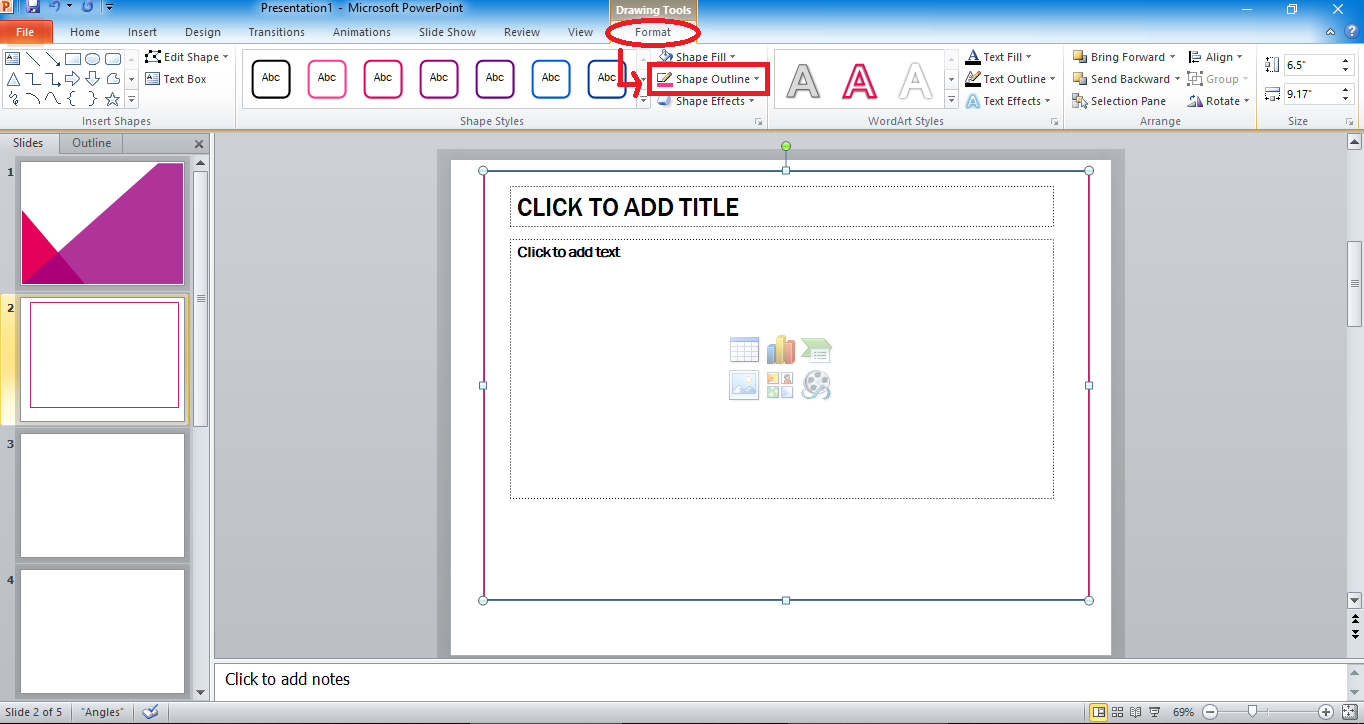
Click the borderline and select the "Format" shape pane under the "Drawing Tools."
-
Look for "Shape Outline"
-
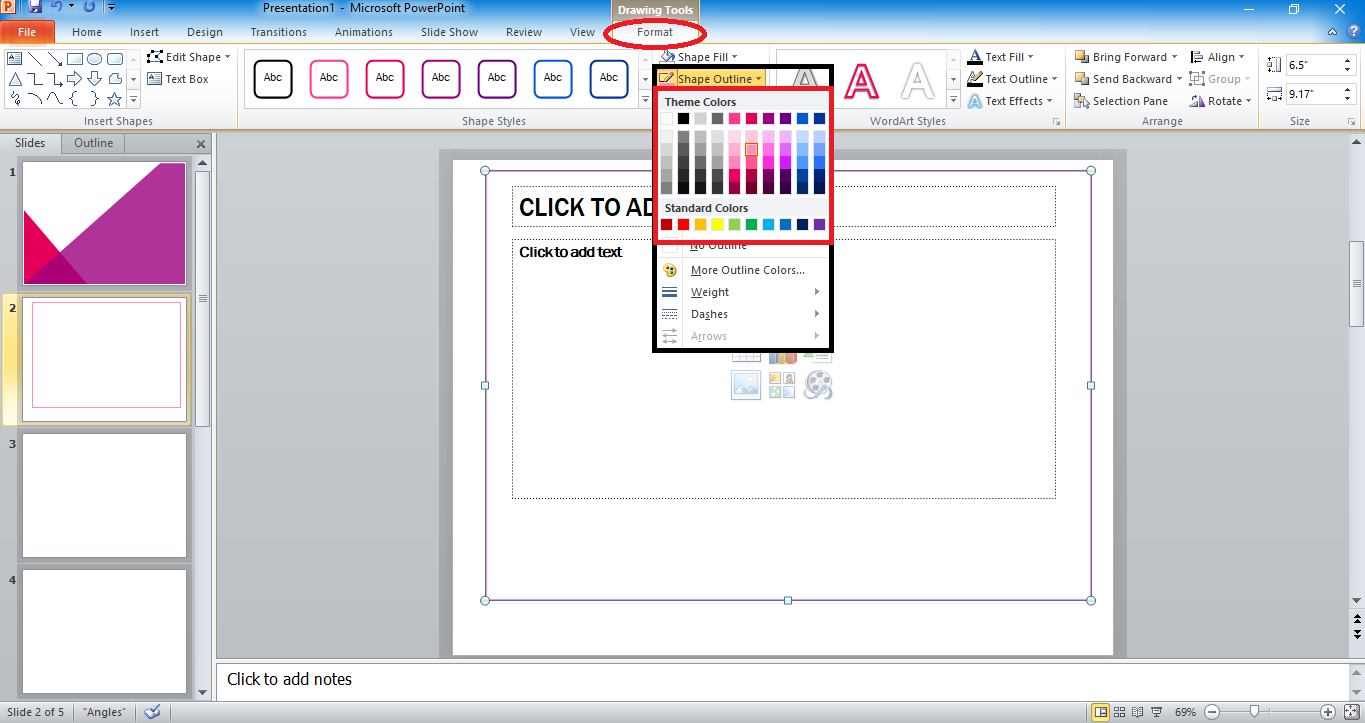
In "Theme Color," select the color you want to display as your border color.
Adding a Border To The Slide Using a Shape Outline.
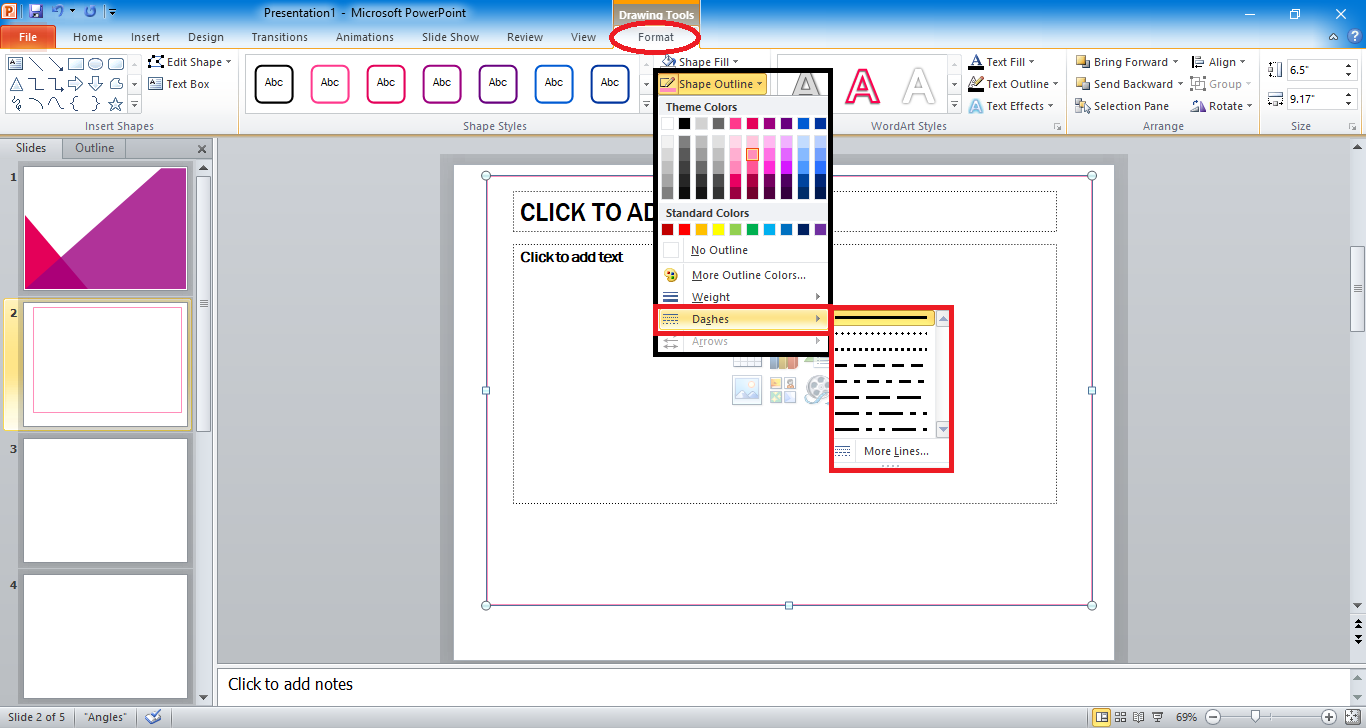
After putting a border, you can also customize your Border thicker by;
-
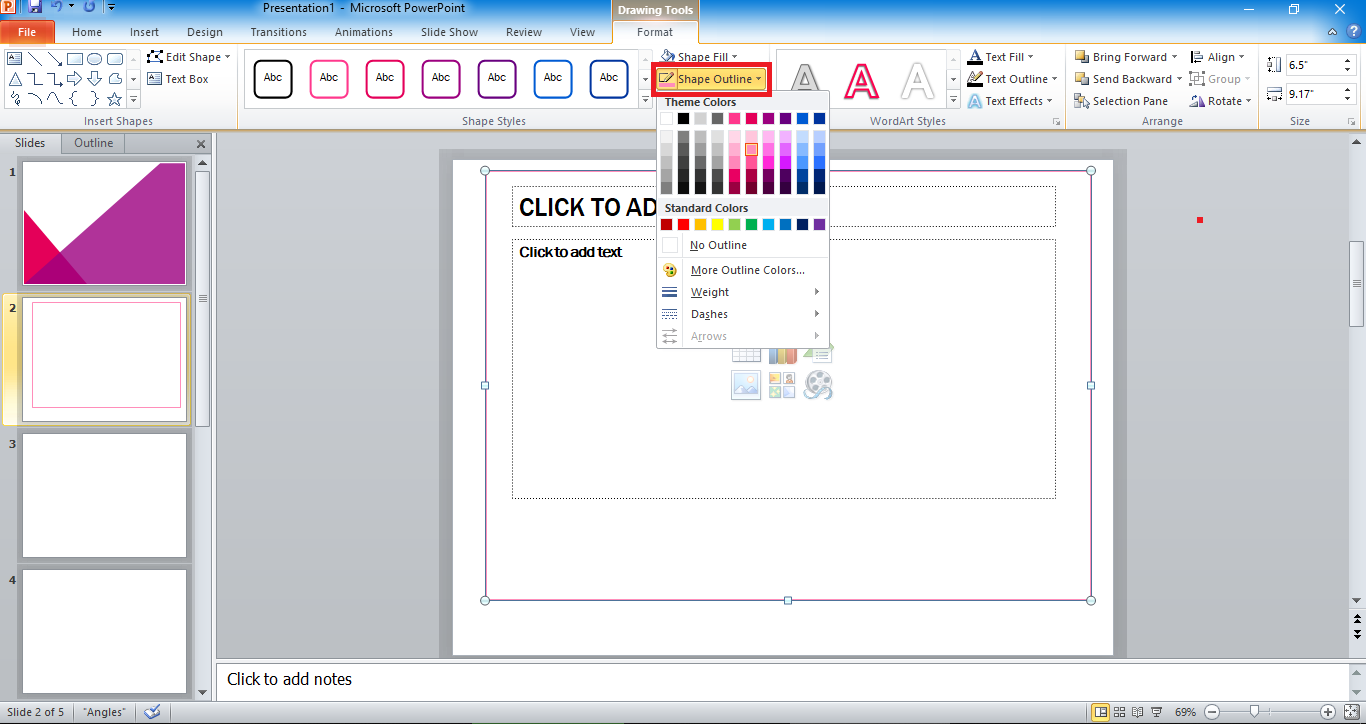
Click "Shape Outline"
-
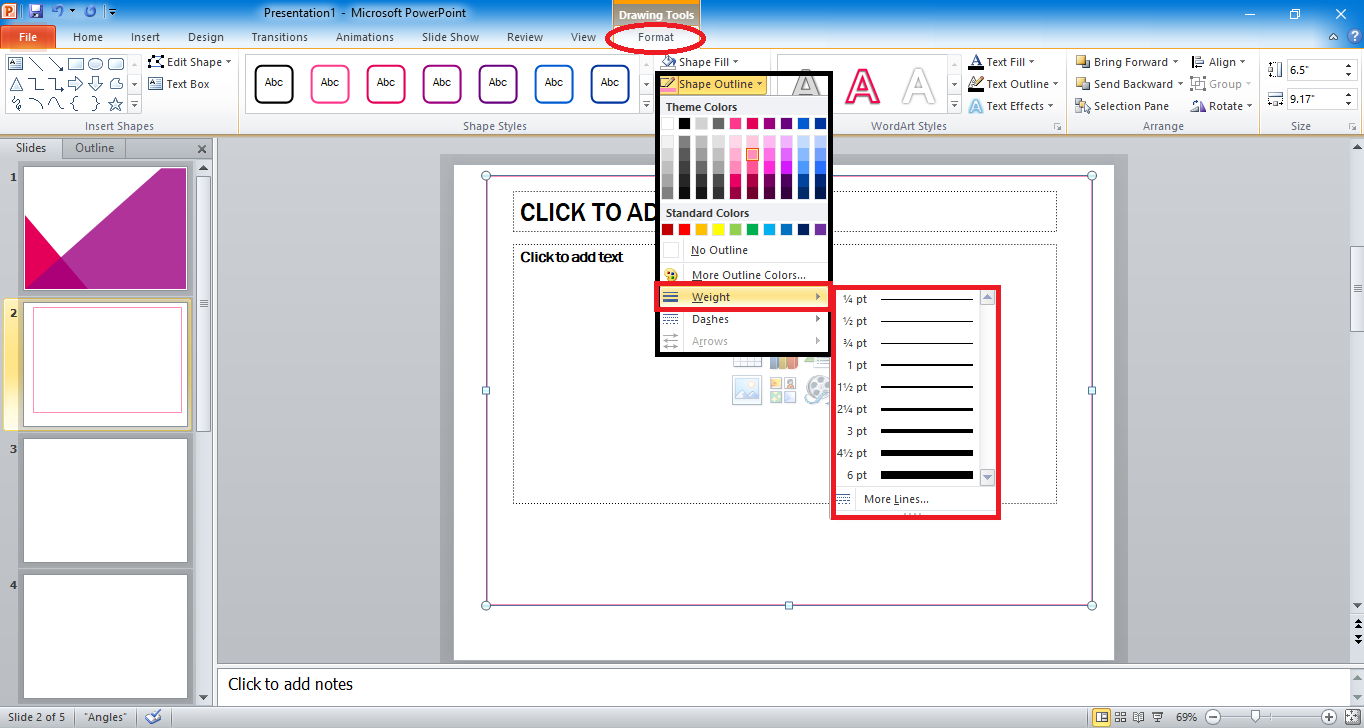
Look for "More Outline Colors" in the drop-down menu and select "Weight." Then choose the thick border you want to display in your PowerPoint presentation.
-
If you want a custom look on your border lines, click "Dashes" and choose from various styles.

Use Clip Art To Create a More Elaborate Border.
To use clip arts in creating a more sleek design in your PowerPoint Slide;
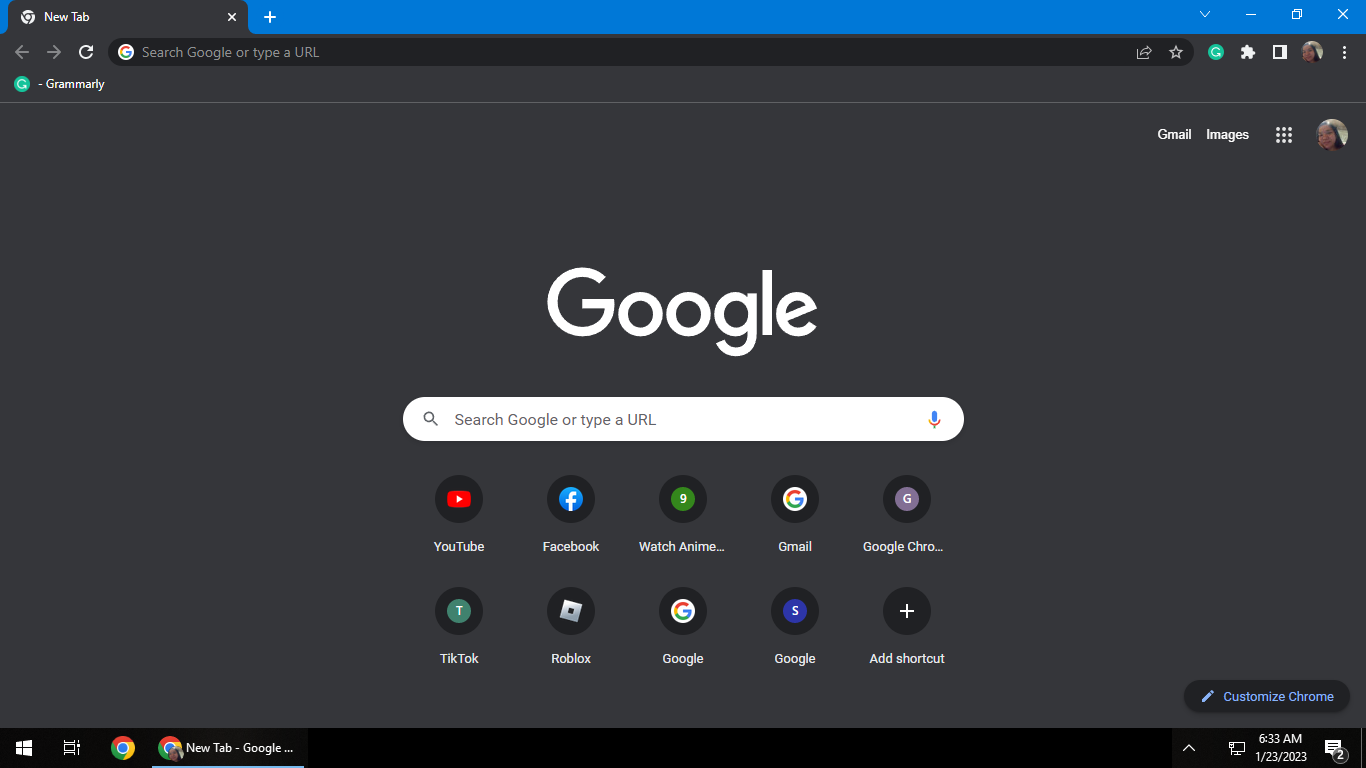
-
Open a new tab in Google.
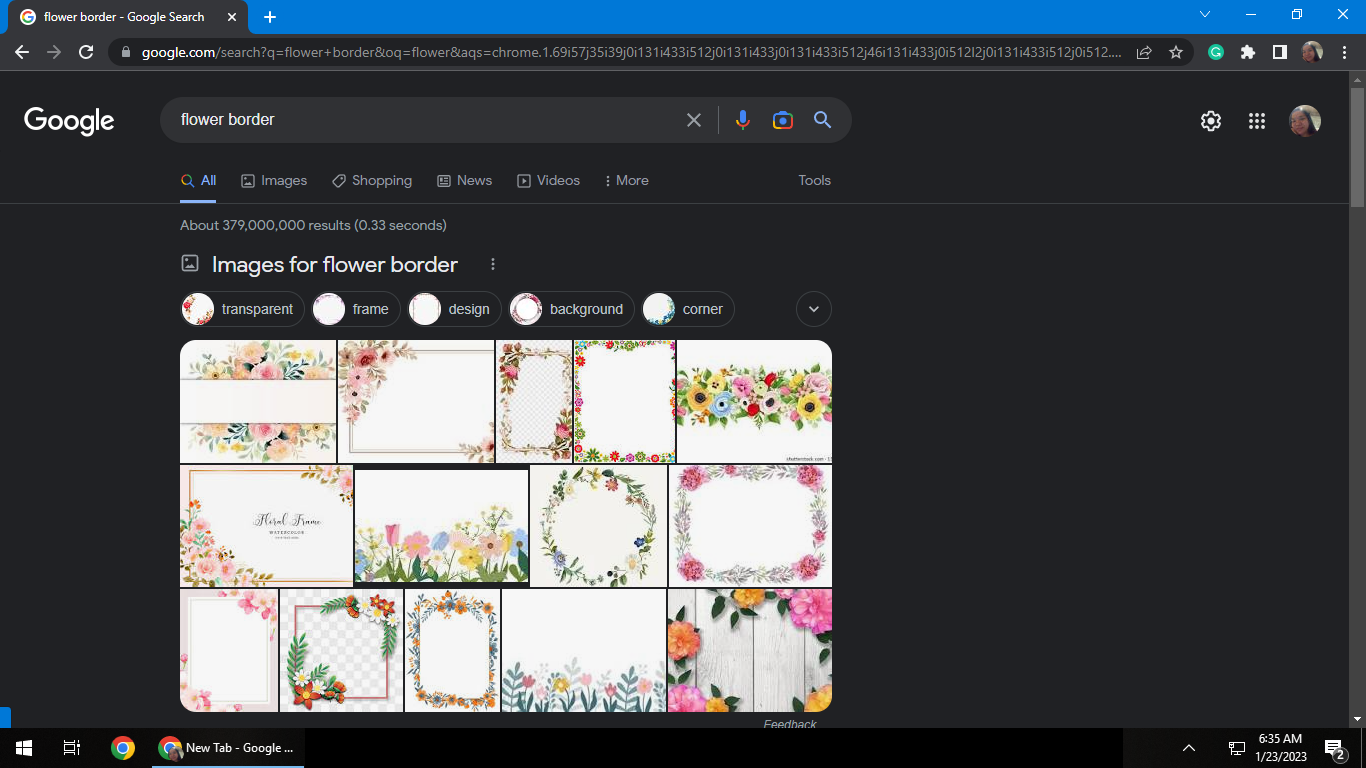
-
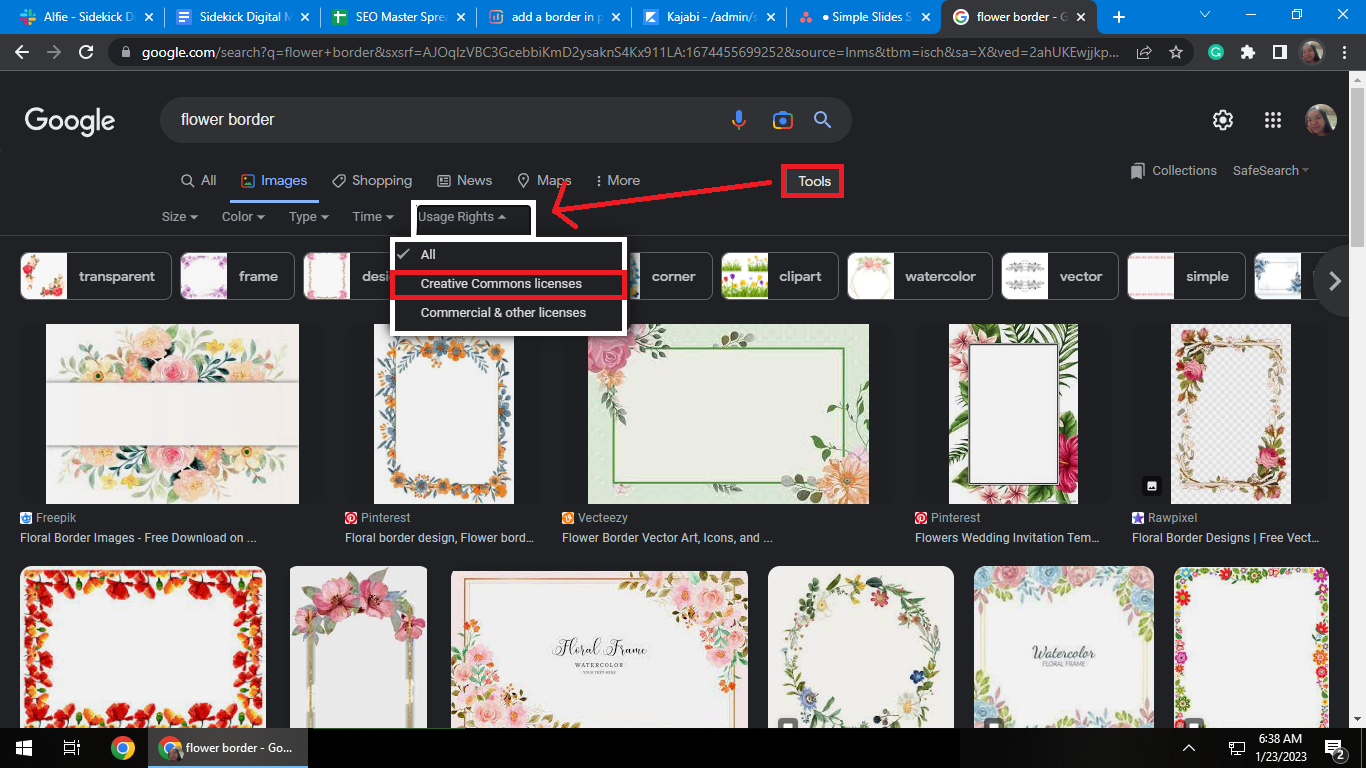
Search for picture styles you want to use, such as flower borders or birthday border designs.
-
Select the "Image" tab in Google, then look for "Tools."
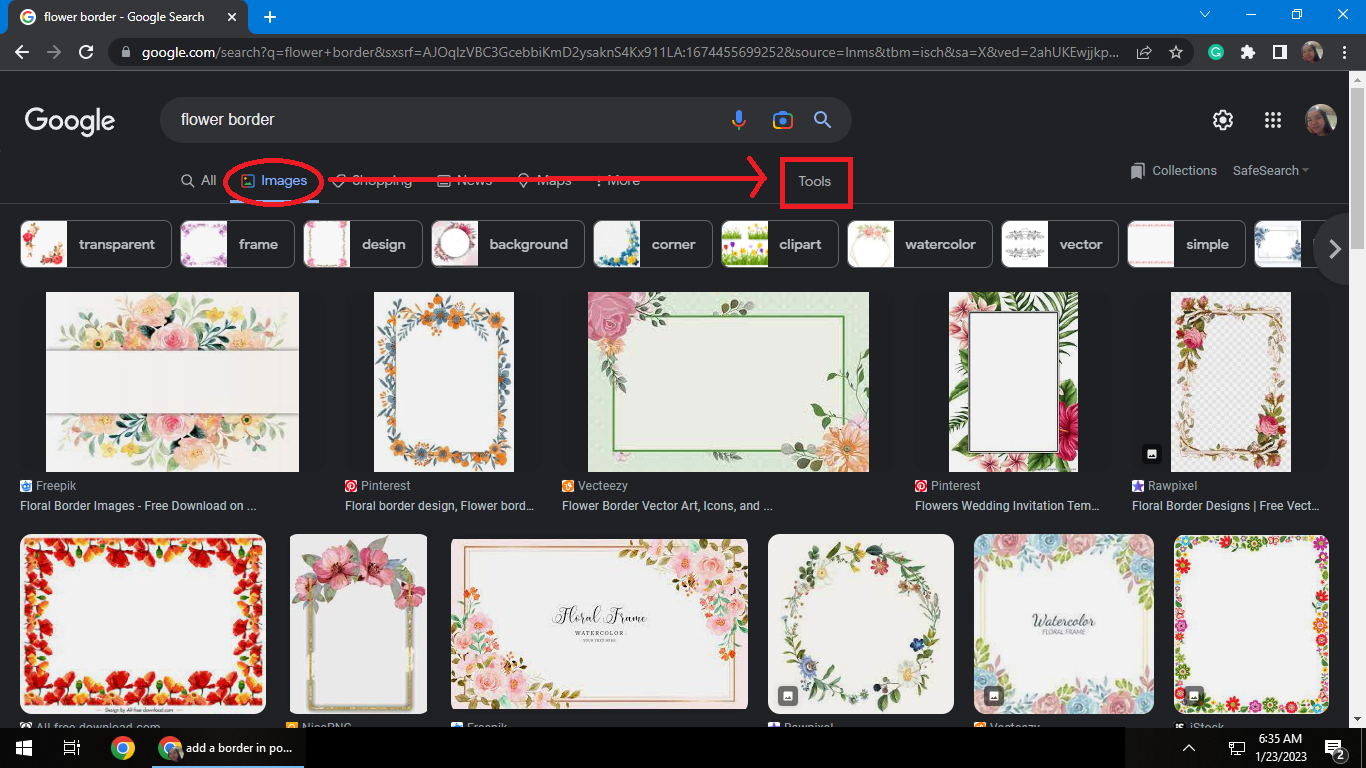
-
Click "Tools" in the drop-down menu, choose "Usage Rights," and select "Creative Commons licenses."
-
Select your desired image, then right-click and choose "save image as" to save the image on your computer.

-
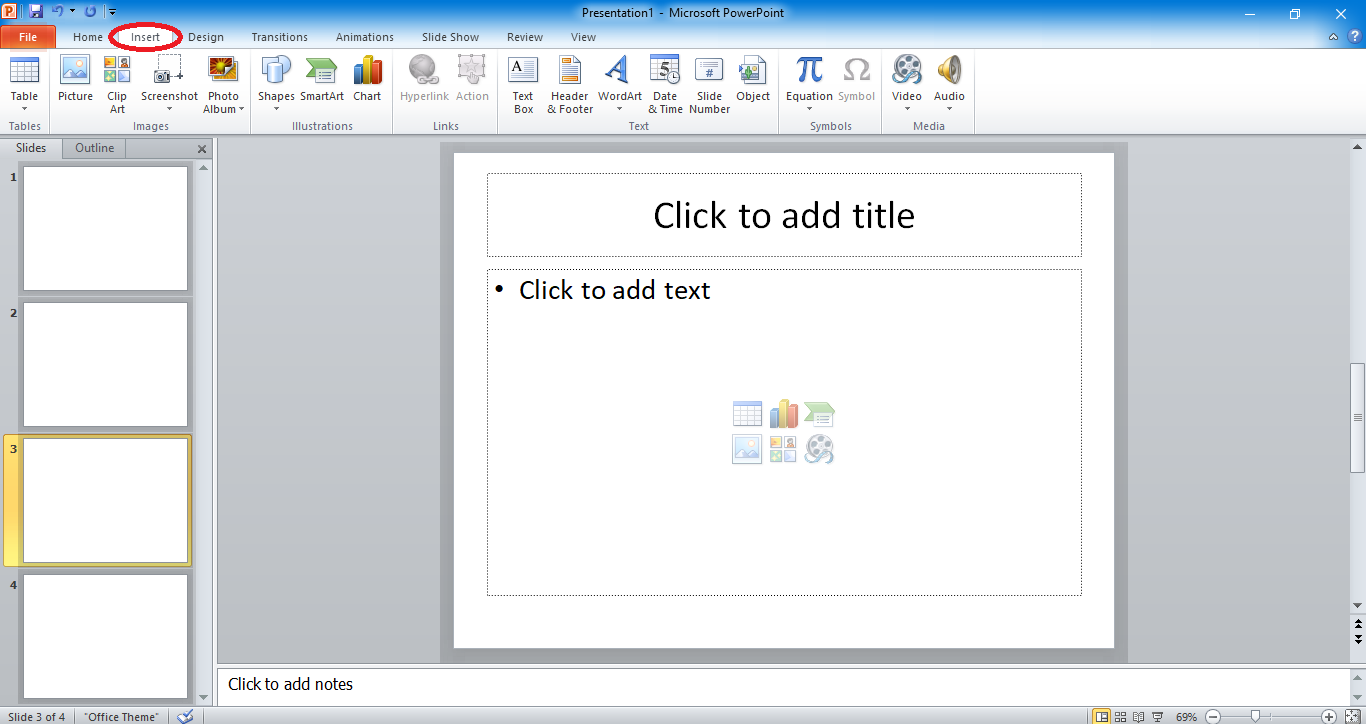
Go to your PowerPoint slide, and click "Insert."
-
Select "Pictures," locate the downloaded image you saved on your computer, and press "Insert."

Use Bing Image Search to Insert a Border.
Microsoft PowerPoint presentation uses a "Bing image search box" to locate and download any design borders. To do that, you need to;
-
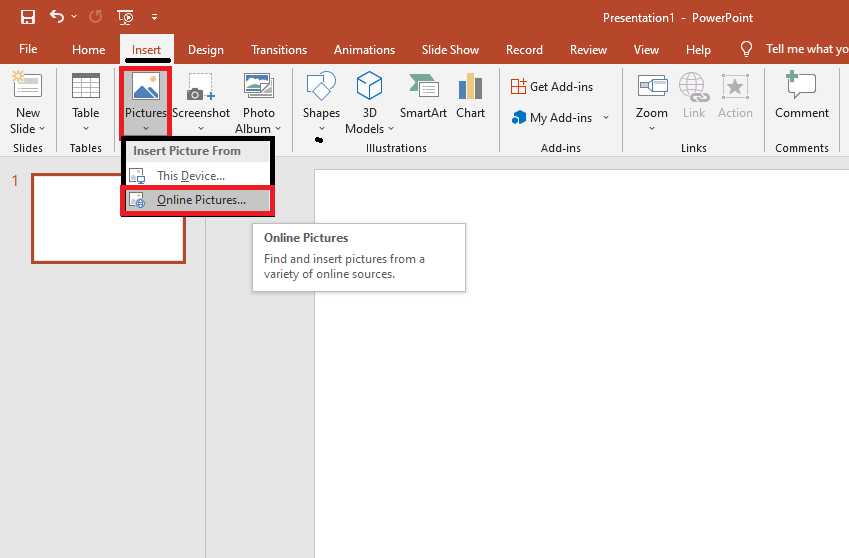
Select the "Insert" tab, click "Pictures," and select "Online pictures."
-
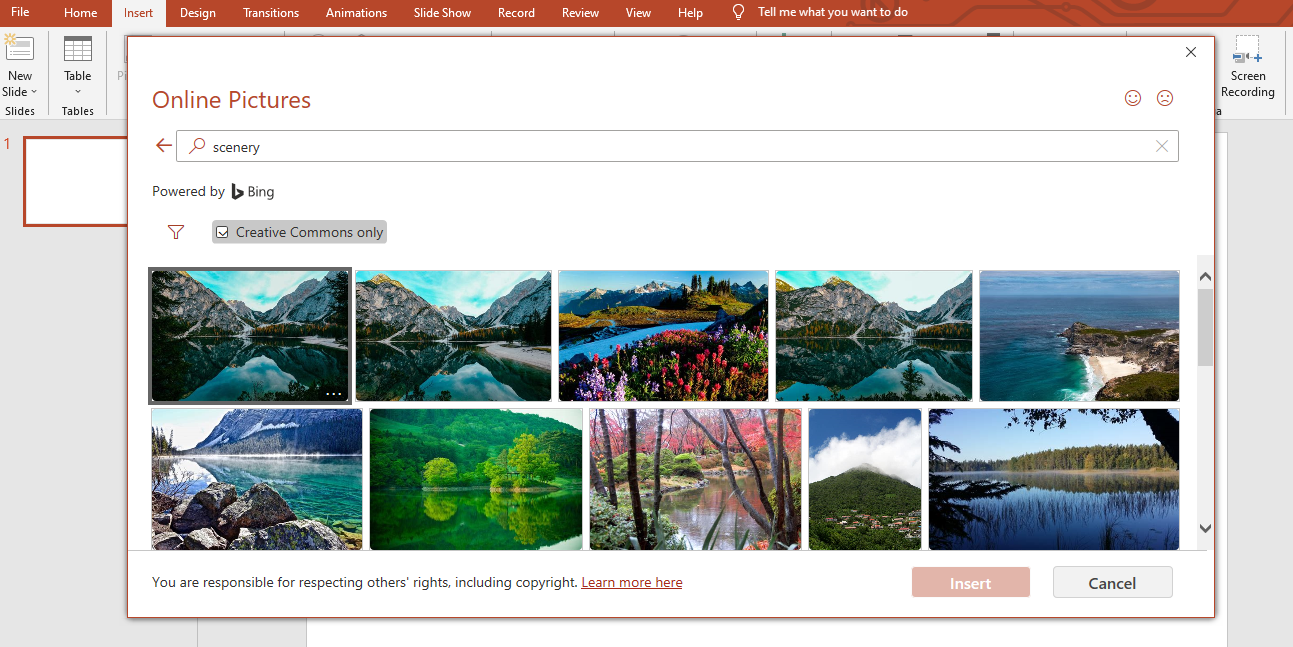
Type a particular design you want in your PowerPoint and press "Enter"
-
Select a border image and click "Insert" to add it directly to your presentation.
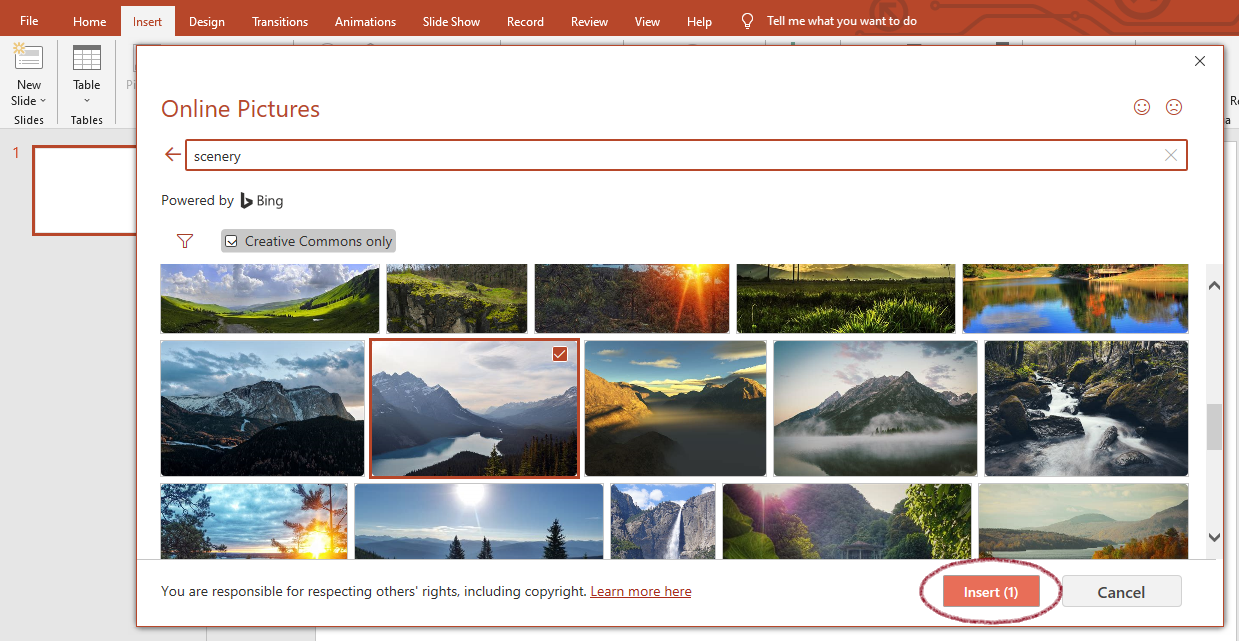
For Using Bing image search phrase: they only show pictures licensed under Creative Commons.
Frequently Asked Questions About How to Add a Border in PowerPoint:
How can I add borders to all slides?
One of the simplest ways to have the same border on your PowerPoint slides is to duplicate your slide by;
-
Select and right-click the particular slide where you add a border.
-
Choose "Duplicate Slide"
You can also click the border and paste it into one slide until the last slide of your presentation.
Related Articles:
Microsoft PowerPoint Tutorial for Beginners
How To Make a Persuasive PowerPoint Presentation
How to Set Transparency for Images and Text on Microsoft PowerPoint
Get A Free Sample of Our Award-Winning PowerPoint Templates + University
Get A Free Sample of Our Award-Winning PowerPoint Templates + University
Join our mailing list to receive the latest news and updates from our team.
Don't worry, your information will not be shared.
We hate SPAM. We will never sell your information, for any reason.